
 Indonesia
 Deutsch


Better Touch Better Business
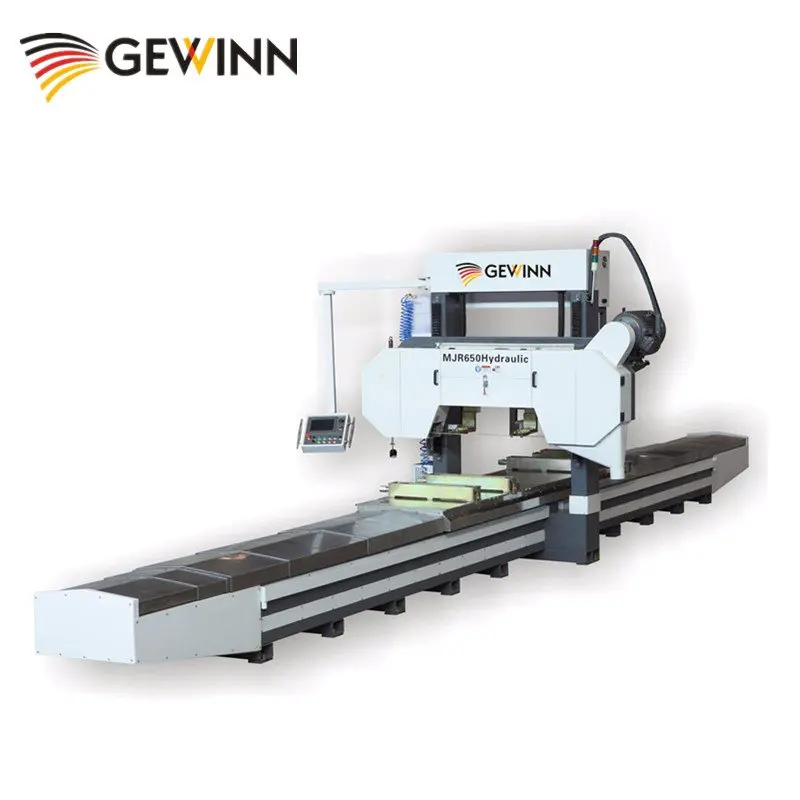
Axis Dust Cover for the CNC Mini Milling Machine
by:Gewinn
2020-06-07
After spending some time on this site and using other people\'s tutorials, I think I should contribute something that can help a lot of people.
If this design doesn\'t work for your machine, you can change it at any time so it works.
This is a clever way to protect the axis of the mini cnc milling machine designed by Honus.
This is an easy way to prevent dust, sand, dirt and debris from clogging the axis of the machine.
Please read every step fully before you start so you don\'t waste material.
I am not responsible for any mistakes you make, mistakes that cause waste of resources, damages to your property, yourself or others.
The knives are sharp and they can cut you if they can.
CNC machines are dangerous and should not be operated by people who have no experience, knowledge or any certification in this field.
Be careful when using these machines because they can seriously hurt yourself, your property, or others.
I don\'t take responsibility for anything you do.
Starting any part of this project means that you agree to the above terms. Have fun!
Use cheap and easy-to-find materials to prevent dust, sand, dirt and debris from clogging the axis of the machine. Materials:-
Redishade temporary curtain size: 48 \"x 72\" x 1 \"price: $12 at Home Depot. (links below)-
Permanent fabric glue (
Fabric can be washed after glue drying)-Wax Paper-
Popsicles-
Bolts or screws
Sheet metal strips (
Around 2 \"x 3/4\": 6 of them :)(
You don\'t need it if you just expand the bolts/screws. . .
This is just to keep the fabric pressed in the mounting position)Tools:-
Clip or clothing pin
Scissors, Exacto knife, box knife, Hacksaw, knife;
Cut the cloth. (
I used the master folding tool knife :~ 0575025 P/master % 2B17-
Fragmentation % 2 BFolding % 2 BUtility % 2 BKnife % 2 BSet. jsp? locale=en)
Note: Redishade temporary curtains are temporary curtains used to cover windows.
It has fabric form and tissue form (
Very temporary use).
It does not contain any mechanism for raising or lowering the blind;
Everything is a piece of fabric that has been folded into a winding pattern by creases.
In this structure I will use the fabric type as it will be more durable and last longer.
Paper towels can also be useful because you can throw them away after each use, and it will be useful if you use coolant or other solution and want to handle it easily. . .
But, again, the fabric can be washed to remove chemicals.
That\'s your choice, of course.
I noticed that the fabric version is $ or two more than the paper towel, so you can also make the fabric with splurg.
The curtain is a zigzag pattern of folded fabric.
It can crash a lot, but also expand;
Very suitable for this use.
Canada link: I live in Canada but they are not posted on the Canadian website. . . .
But the store is the same as the US website.
US link: you need to measure the width of the shaft.
Mine is 4 1/8 wide so fold the window shadow and make it a compressed fabric strip and draw the shape.
Measure 4 1/8 \"along the bottom of the fabric \"(
Yours may be different because my aluminum channel is not the same size as Honus\'s cnc machine.
Do not measure from the end of the curtain, you need to have extra fabric on both sides;
Read on before you do anything.
Next measure the extra 1 \"on both sides \";
This is the side cover (
I have 1 curtain \"folded.
If your shadow has 1/2 \"folds, only an extra 1/2 is measured on both sides \").
Draw a line that connects the rows at the bottom, which is 4 1/8 \"long to the top, and the row will end 1 Outward \".
Cut it off and now you should have something that looks like this: to make sure the dust is not found under the lid, I designed more curtains on both sides, the only way this dust enters is that it has to resist gravity.
The height of my aluminum channel is 7/8.
In order for the sides to be connected to the dust cover at the top, you need to have more material.
View the drawings to understand.
Make sure there is a flap on the edge of the tilt that will be under the top cover so the glue will be strong.
See how the top edge of the side peice is not a point.
It has some extra fabric that can be placed under the top cover, stick them together in the picture, the shape of the green is the side cover, the black dotted line shows the outline of the top cover, the blue bar is where you put glue because the flaps will attach the side cover to the top cover.
You will want to cut some fabric (about 1/8\")
On the side cover so they can be installed properly under the top cover.
View photos.
The number of bumps per axis needs to be different so that they are long enough.
For the x-axis, you only need 6 bumps because you are going to install it on the table: but for the y-axis, I have 8 bumps :.
Because there is a longer distance between the installation points.
For the z axis, since most of the dust will fall on the ground and the other shaft covers, you only need to cover half of the shaft;
The second half (
Location pointed to by Dremel or other cutting tools).
The first time I stuck both sides on it, I stuck them in the middle with a popsicle, then I found that when I took out the stick, the glue was not completely dry and both sides would lose money (
Because it\'s not finished drying).
Later I tried to cover a popsicle with wax paper and it worked better.
Then I found out that the popsicle was too big, so I decided to clip it together with wax paper.
Go to the next step and see how it is done more successfully.
This is a more successful way to clamp the edges of the top and side covers together.
I have wax paper between all the flaps.
The wax paper inside is to prevent the inside from sticking.
The wax paper outside prevents the outside from sticking to the outside.
If you do not use wax paper, there is a good chance that the shaft cover will stick completely together and cannot be expanded when pulled up.
After drying is completed, loosen the wax paper from the bonded fabric and peel it off.
Do the other side now and then you will make a shaft dust cover.
Now that it\'s dry, what should this look like.
To install it on a cnc machine, I will use screws and metal strips.
Step 1: drill holes in front of the mill at 1/2 \"above the aluminum channel.
Step 2: Use scissors, knives, punch holes or other sharp things to punch holes on the side of the external raised shaft cover. Step3(optional)
: You can use sheet metal if you want, but I don\'t have it on me, so I just expand the screws and drill holes in the same position as the mill rack and shaft cover.
Step 4: screw the shaft cover to the rolling mill.
Step 5: do the same when installing the shaft cover to X
Shaft plywood base.
Now that it\'s connected to your machine, you can do the machine without worrying about your rebar being blocked by wood, plastic or metal scraps! ! ! Hurray!
I hope this is a charge-free guide;
Because it\'s just my first time.
I hope to provide more in the future.
Custom message

