
 Indonesia
 Deutsch
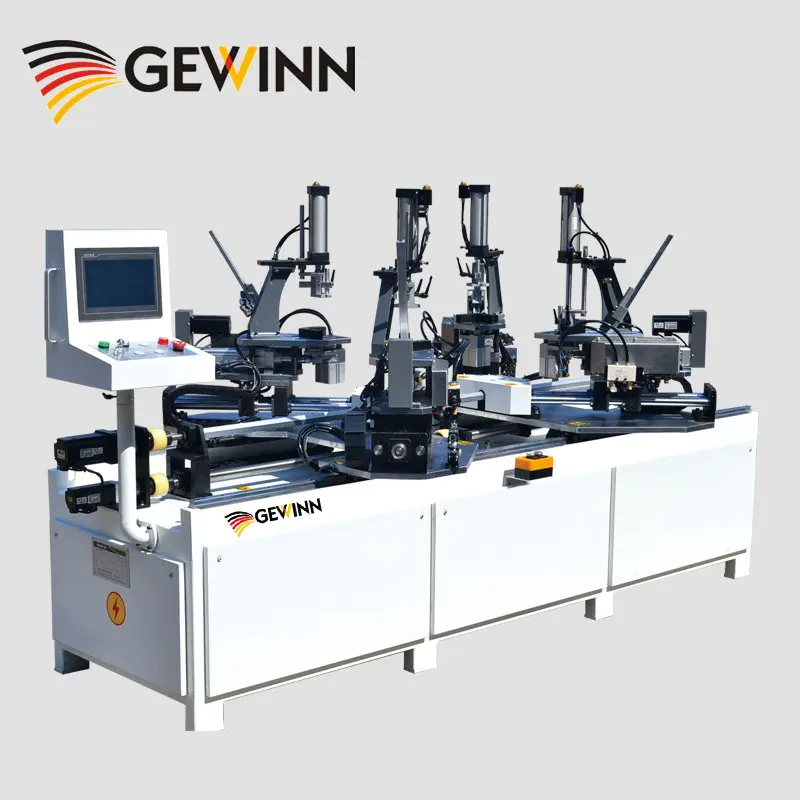


Better Touch Better Business
cnc joinery: how to create finger joints
by:Gewinn
2020-06-02
The purpose of this tutorial is to show how the CNC machine works from design to finished product.
For more experienced users, this is also a tutorial on how to create finger joints.
Material: 3/4 \"plate MDO (
Medium density coverage)
Machine tool: 3-axis greenBull CNC Machine Tool software: AutoCAD (Design), CAMBAM (Machine tools), Mach3 (Post processor)
We would like to show you how to make practical joints using CNC machines.
This is a simple connection that provides a good starting point.
The finger joint is a raised joint that is used to measure the thickness of the wood and creates a flush angle when put together.
Step 1: ComputerAided Design (CAD)
We design these parts with AutoCAD.
The last joint is 4 inch wide, with 1 inch fingers each.
The stock of paper we use is measured. 755 inches.
It\'s important to compensate for the corner, so you need to go a little further and use it.
All fingers 757.
In the design, we rotate it 180 degrees.
Then we connect all the lines and create a polygon.
Next, we copy and rotate it.
Usually we put a little tolerance between fingers to make it a little thinner, but, when we keep it at zero, see if the wood is tolerant enough to do that, if not, we need to increase the inch displacement of a few parts per thousand.
Because we use a circular corner, the corner inside is not a perfect square.
In order to be able to marry the apartment to an adjacent corner, bit had to make an overcutting.
Rounded corners also provide relief for any stress at the corner or for possible stress cracks.
Now that the document is ready, we are ready to go to phase 2.
Step 2: Computer
Auxiliary manufacturing (CAM)
Open the DXF file just saved from the CAD program to the CAM software.
CAM software is used to establish processing operations.
After loading the file in the CAM program, select the two joints and create the rough and finish profiles.
There will be a gap through rough machining.
01 \", in this way, only a small amount of material is shaved when done.
We only want to have two hold tags on these, so select both and change the hold tag to at least two.
The rough machining passes twice and the finishing passes once.
The files are now ready and the parts are now ready to be cut out by the CNC machine. Step 3: CNC (
Computer numerical control)
We are ready to cut off the joint.
We first zero the X, Y, and z axes and then run the machine.
The finger joint is now done, zero tolerance, so you might want to add a little tolerance to make it easier to get the glue stuck in the middle.
Another aspect of this finger joint is that these ends are very flush.
There is no difference between them, so the result is good.
We also put it on a pair and tighten it a little bit.
It is able to move a bit, but not enough to make it completely flush, so you want to move it back. 005 of an inch.
That\'s how we make our finger joints with CNC machines!
Custom message

