
 Indonesia
 Deutsch
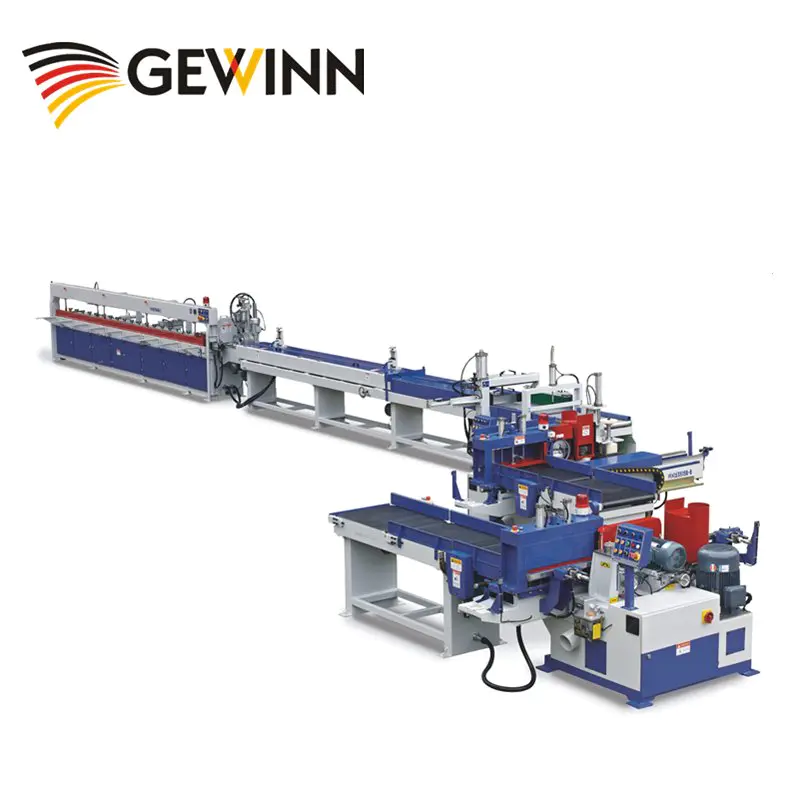

Better Touch Better Business
Latest products
sliding table saw outfeed extension table
by:Gewinn
2020-02-13
A common requirement for our woodworking is to provide an extension table for our table saw.
We \'ve all seen dozens of self-made extensions with a variety of features, including even built-in extensions
Router station!
Nothing different, I found myself needing a piece to handle the clunky 4\'x 8\' plywood.
However, my work space is a bit limited, so I also need the table to be as compact as possible.
I have a regular grizzly China contractor 3hp, 10 \"See, I think many of you have.
Here\'s how I solve the problem.
The key to my design is to install a shop Fox fence on my saw. Most mid-
The expensive saw comes with a very inadequate fence.
Mine is made of pot metal and has to be aligned with the blade every time I move the blade.
It even deflected when a board was pushed through my saw.
When the pot metal lock Rod nut breaks halfway, it ends up dying in a benevolent way.
I sucked it up and bought a shop Fox aftermarket fence that cost half of the saw at the time, but since then the investment has been rewarded with higher quality projects
The lead photo of my system shows that the store Fox comes with 3 \"x3\" angle rail mounting rails that are bolted to the front and back of the saw, and provide the right of 3 cast iron beds for the saw.
I use the horn bracket on the back of the saw as a key part of the table I built.
My table folds down and it\'s not unique and a lot of the designs you see do that.
The uniqueness of my design is to slide around 18 \"on the left side of the cast iron saw bed \".
This supports out-
Fed plywood, so no matter how large or small the strips you cut off the plywood carry, the entire board is supported by the cutting process.
It turns the material that adjusts the large size into the real materialman process.
The first thing to do is a small one.
On this type of saw, the folding extension extends out just past the motor.
At the bottom of this table, a 1/4 \"square thin-walled steel pipe is connected through the top of the table with metal plate screws.
This tube is placed on the 3 \"horn iron stand of the store Fox fence and slides.
I found that if the tube, the top of the 3/4 mid-fiber board and the last Masonite topper, which is 1/4 thick, is the perfect thickness, it can be as shy as the cast iron top that my table sees.
Attached to the top is 1 countersunk head drywall screw of 1/4.
As a result, the project board can easily slide onto the extension without being caught, but is well supported for the duration.
There is A 2x4 connection to the front edge of this small table,)
Slide on the bracket, B)
Accept the piano hinge of the big table.
I used my dado blade to cut some gaps on the top of this table sandwich and let my Mitter slip through without hindrance.
This little table needs to be supported at the extension end, so I built an angel iron stand as shown in the first photo above.
Bracket bolts to the bottom of the bracket leg use the bolts used by the saw.
The back of the bracket Bolt is attached to the 3 \"corner iron workshop Fox brackets, which have 3/8 bolts that screw into the holes I drill out from the bottom and screw into the angle iron.
The bolt is 1 1/4 \"long, so it is extended from the bottom of the square steel pipe.
This is the key to making the table slide back and forth.
I slotted a slot at the bottom of the square steel pipe slightly larger than the two bolts attached to the angle iron.
I drilled 7/16 \"holes\" at the bottom of the tube so that the tube could slide to the left about 18 \"and when sliding to the right it would center on the saw table.
Then, I used my pneumatic rotary tool and a thin split grinding blade to cut a wide and long gap 7/16 long between the holes.
This slot is the sum of the distance between the two bolts plus 18 \"of the slider.
If you want the table to slide further, please make the slots longer.
The hole on the left is drilled, so when the slot hits the bolt on the left, the sliding table is even the top of the Saw cast iron.
You can install flat washers on the bolts between the angle iron and the tube and perfectly adjust the top with Saw cast iron top.
Now, the small table is put down on two bolts and the table slides 18 \", which is aligned with the table when stored in a stationary position.
The last photo shows a hole through the top of the table top and square tube with two bolts visible.
I drilled this hole in the bed in the distance.
Right diagonal slot.
When the table slides, the center of the hole on the two bolts looks up.
I screwed up the last two NyLok nuts shown in the photo that fixed the small table on the saw.
It can slide but can\'t take off.
Photos with colored arrows are close-up
Sliding details.
The red arrow highlights the bolt with the lock washer, holds the table holder on the angle iron, and the white arrow shows that I need a flat washer under the slide tube to adjust my table height, the green arrow shows the NyLok nut on the bolt that captures the tube, and the blue arrow shows a metal plate screw that holds the top to the tube.
Starting from here, most of the size of the table itself.
It is as wide as a small table and long enough to clean the floor when folded.
It is constructed the same as a small table in 2x4 laps
The attached frame, the top of the 3/4 \"medium fiber board and the 1/4\" Masonite topper.
It is attached to a small table with a piano hinge.
For the support legs on the outside of the table, I welded a set of 1 \"thin-walled square pipe legs that are connected to another piano hinge and folded underneath when the table is stored.
I welded the nut at the bottom of the leg for adjustable furniture feet with felt pads.
The feet slipped over my concrete floor effortlessly.
As you can see, I broke all the rules of shop etiquette to glue, paint, build with this table. drawing, etc.
When the hat gets too hard, all I have to do is replace it with a clean sheet and then I start running again.
Also noticed that I arranged my saw near my building
At the cabinet/Mitter saw station, allow me to put the back end of the bug piece on top before feeding them through the saw.
That cabinet is a standardized version of the New Yankee Workshop built by Alan.
This is the theme of another structure!
Also not adjustable height, the rolling support next to the top of the saw helps-
Big piece of feed.
This is another indispensable New Yankee Workshop project.
Custom message

