Indonesia
 Deutsch
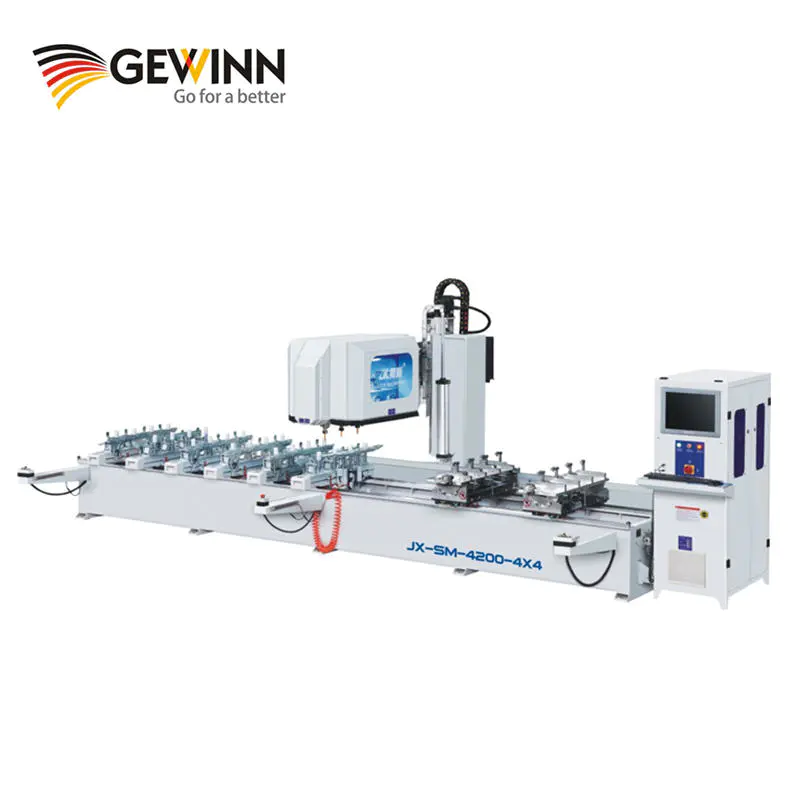
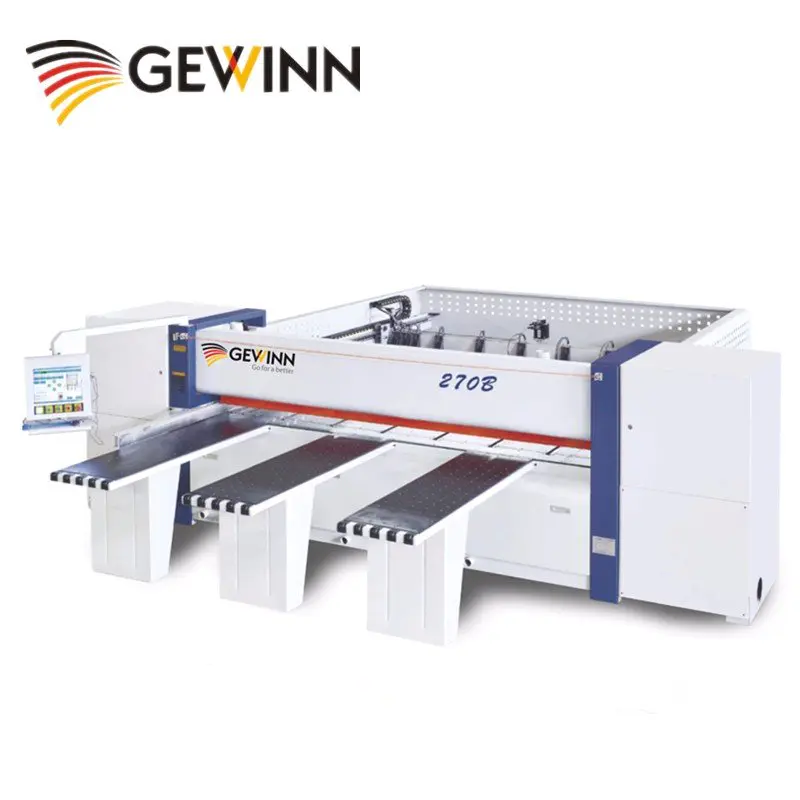
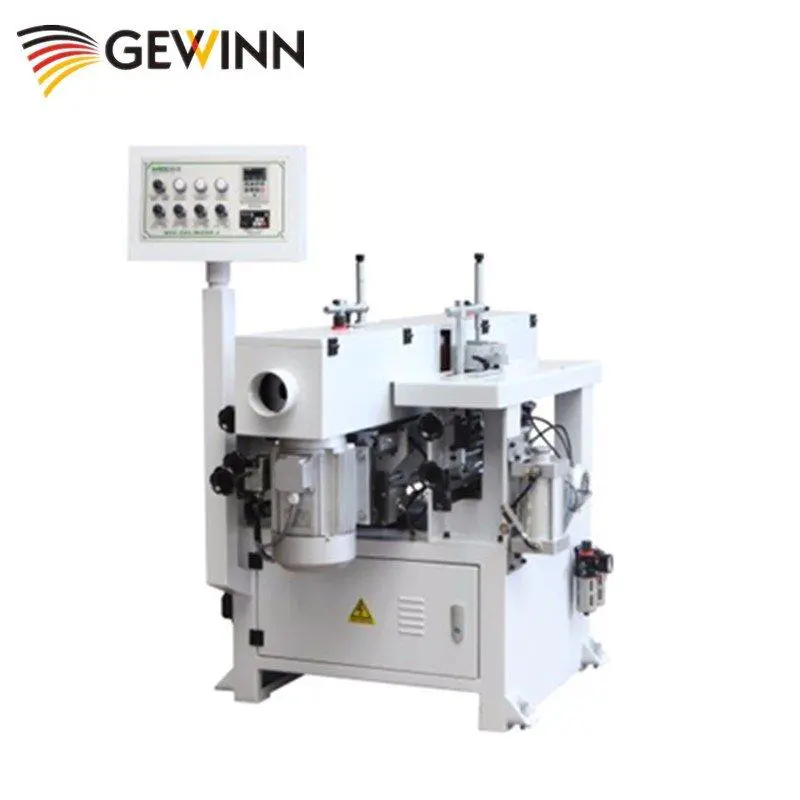
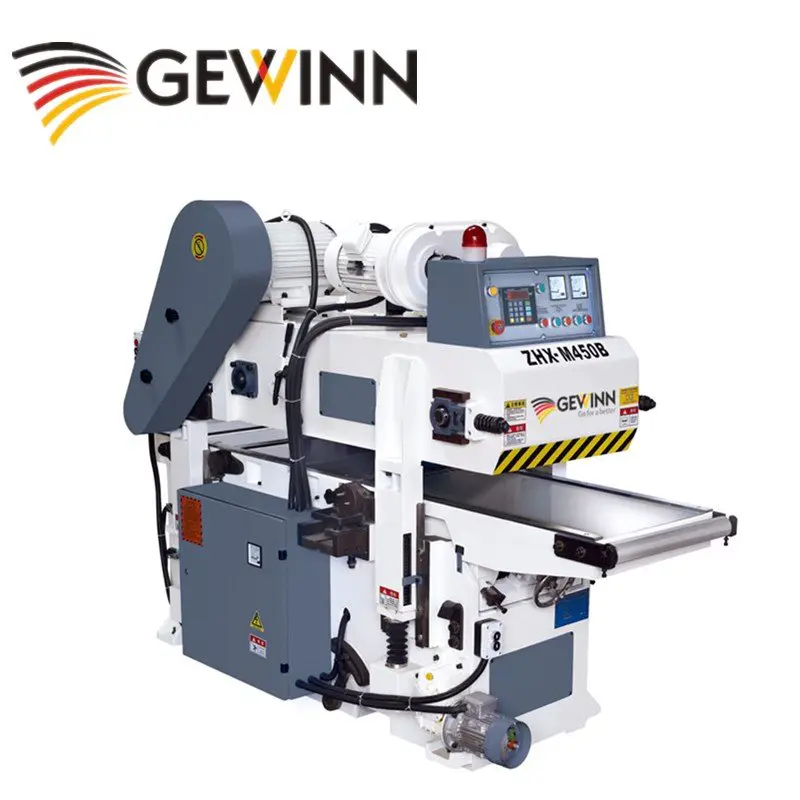
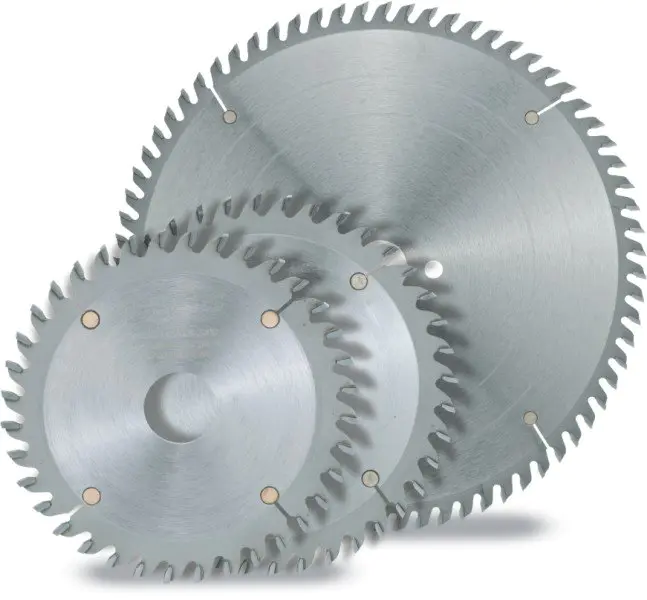
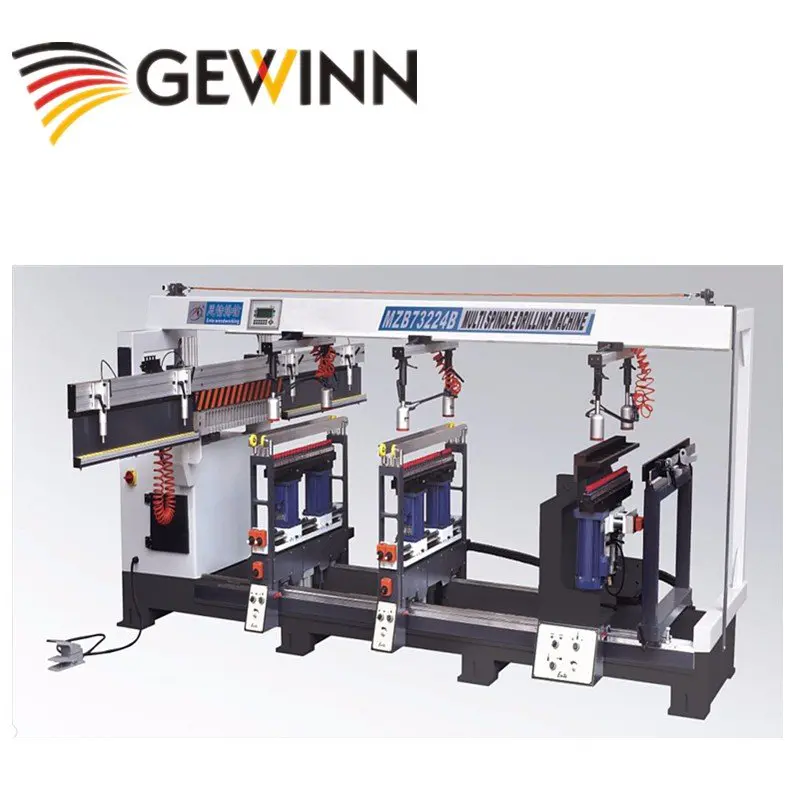
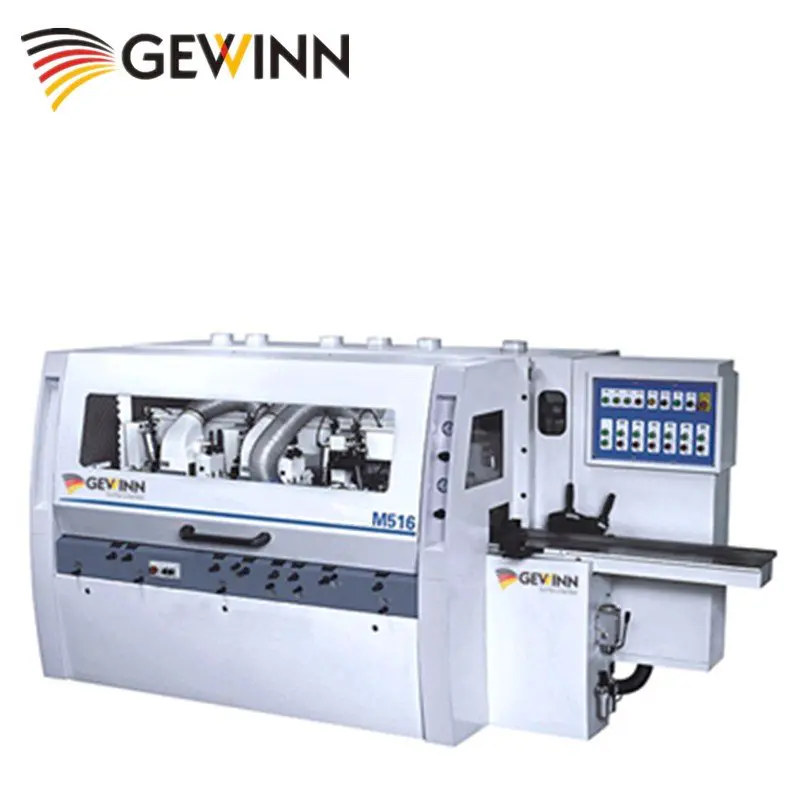
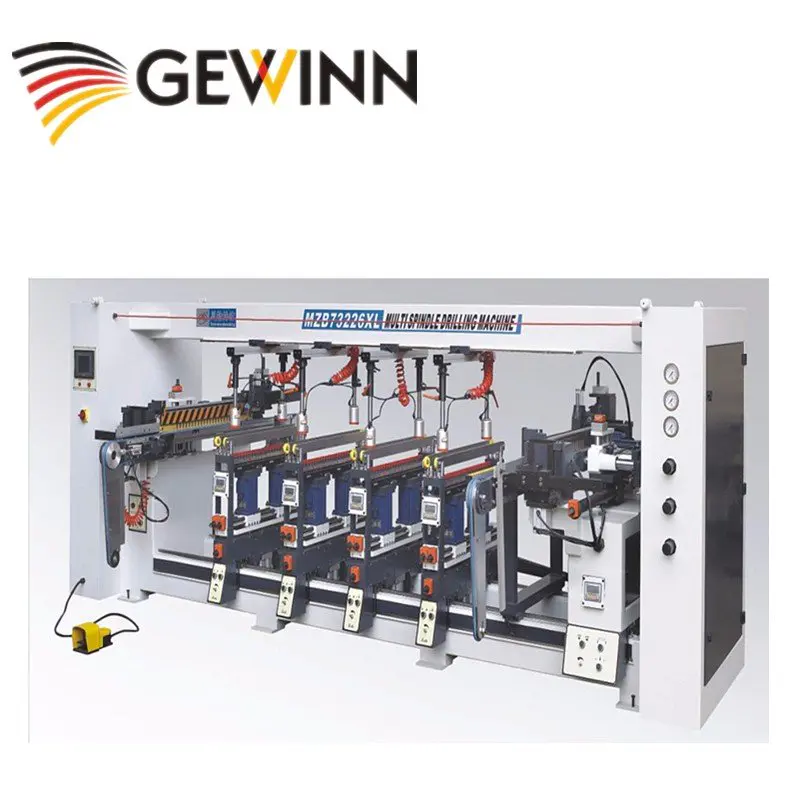
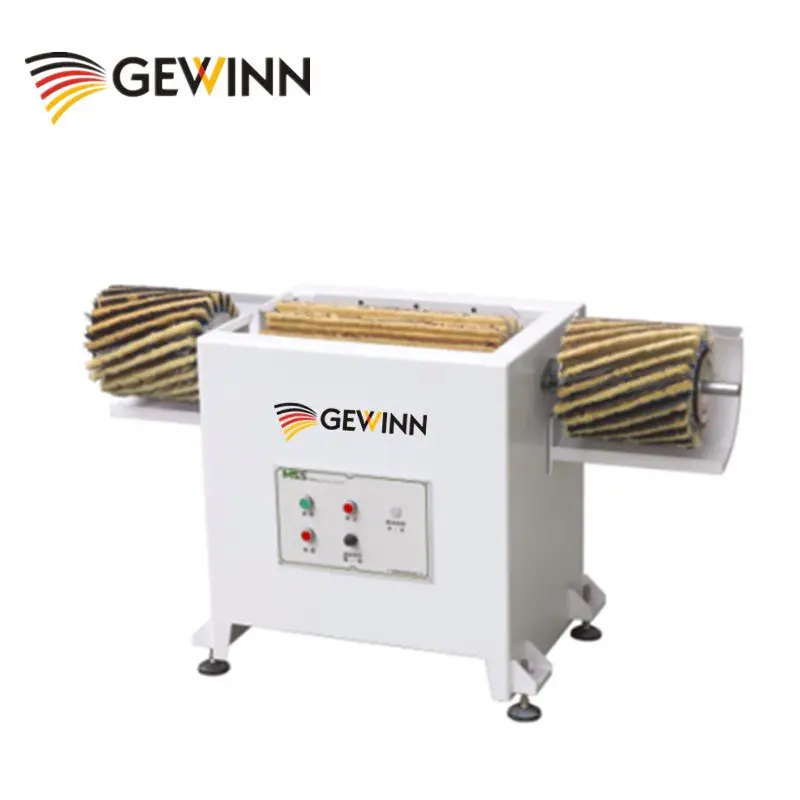
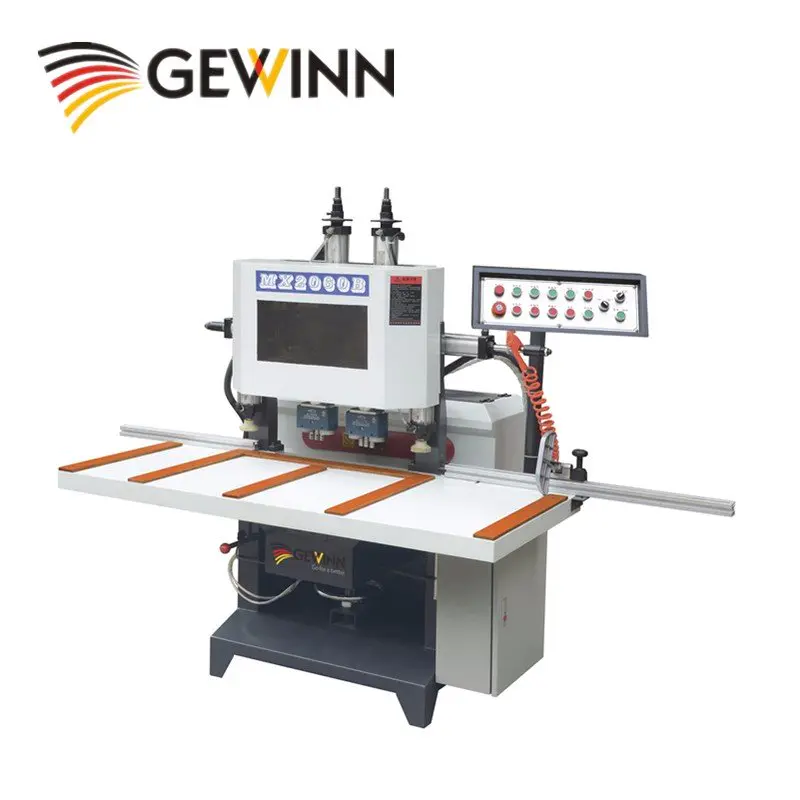
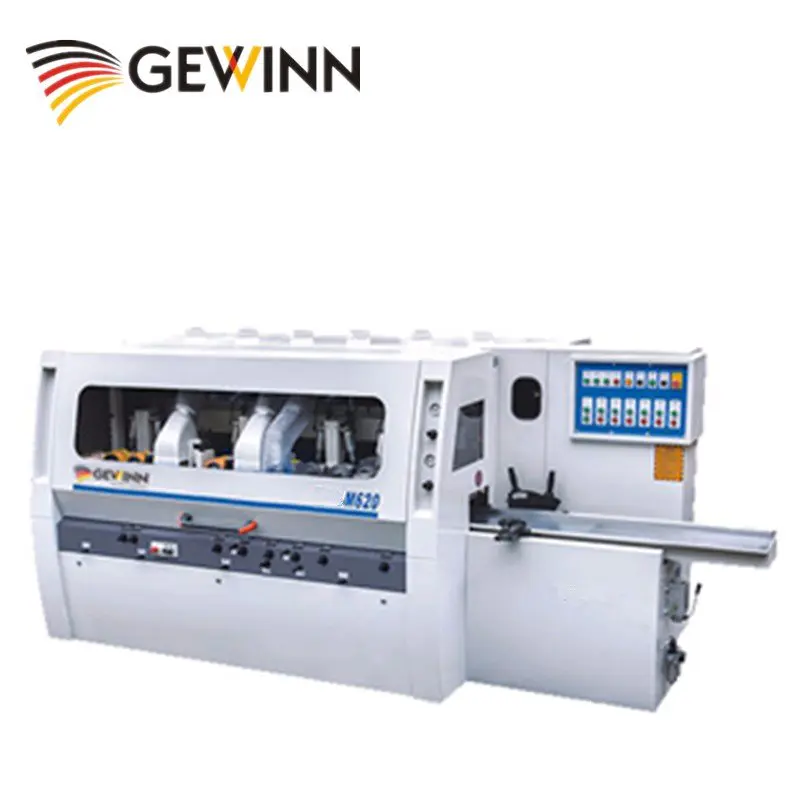
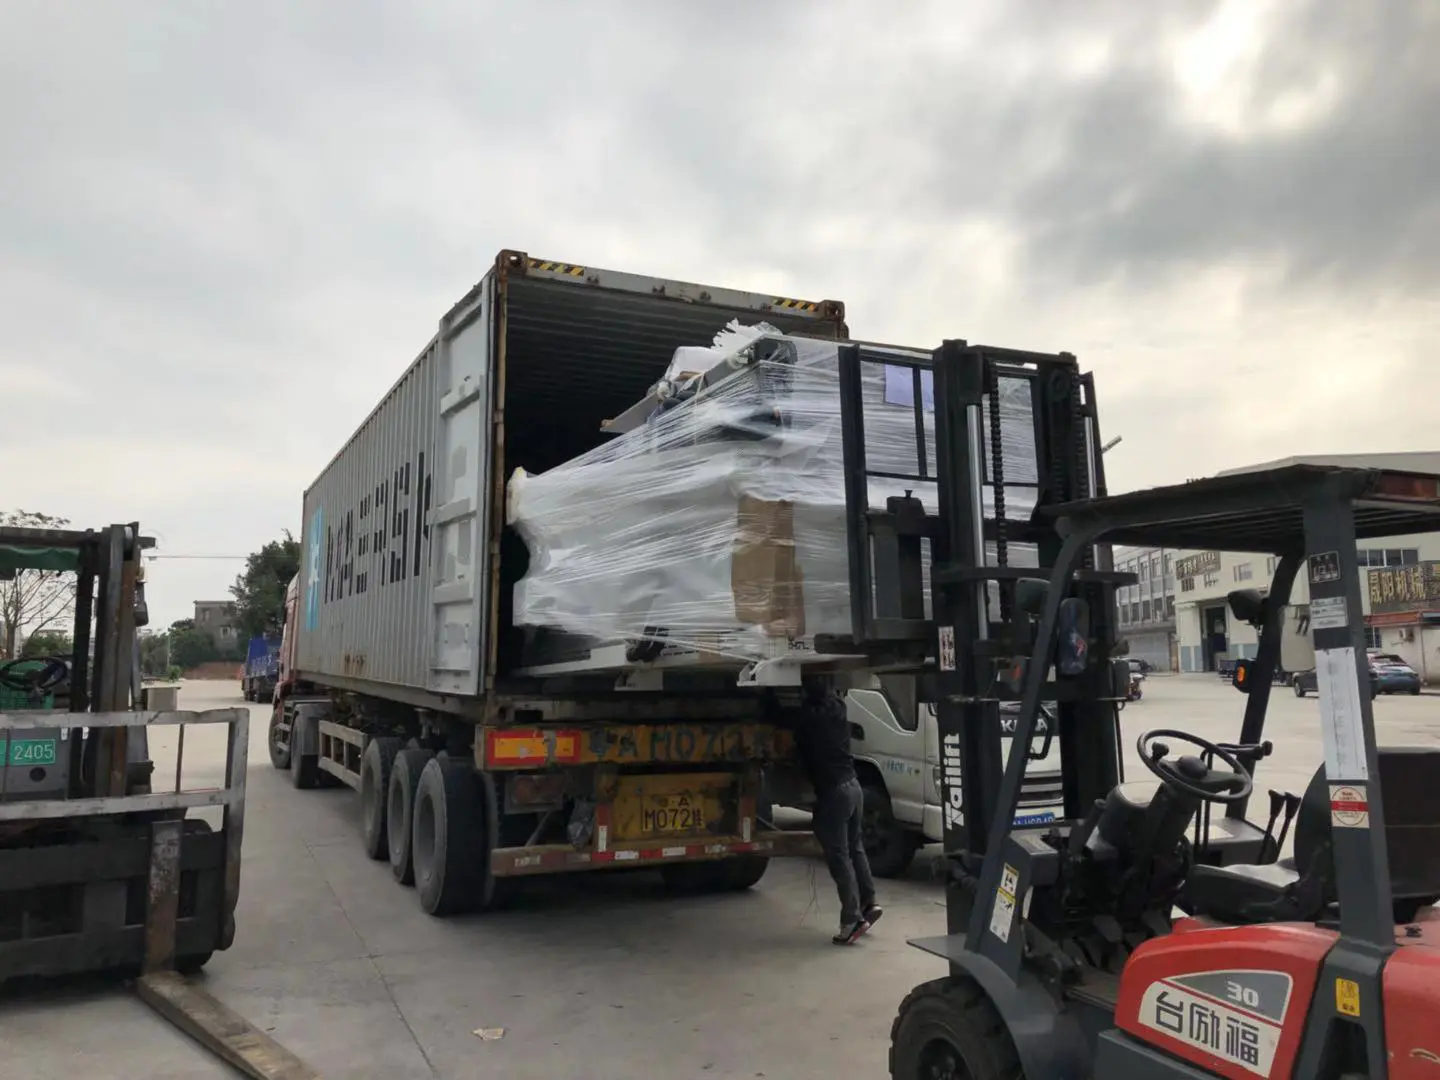
Shipment of CNC Machines
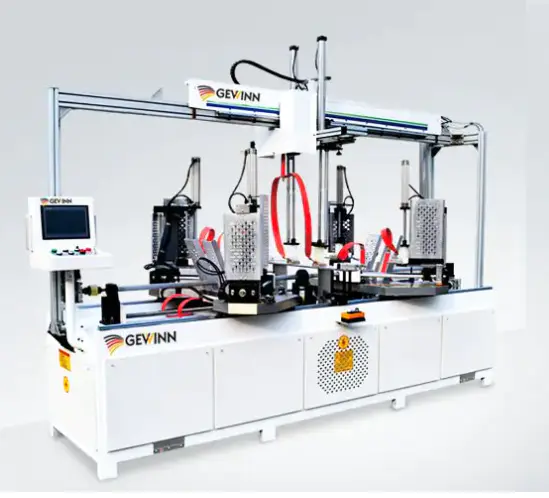
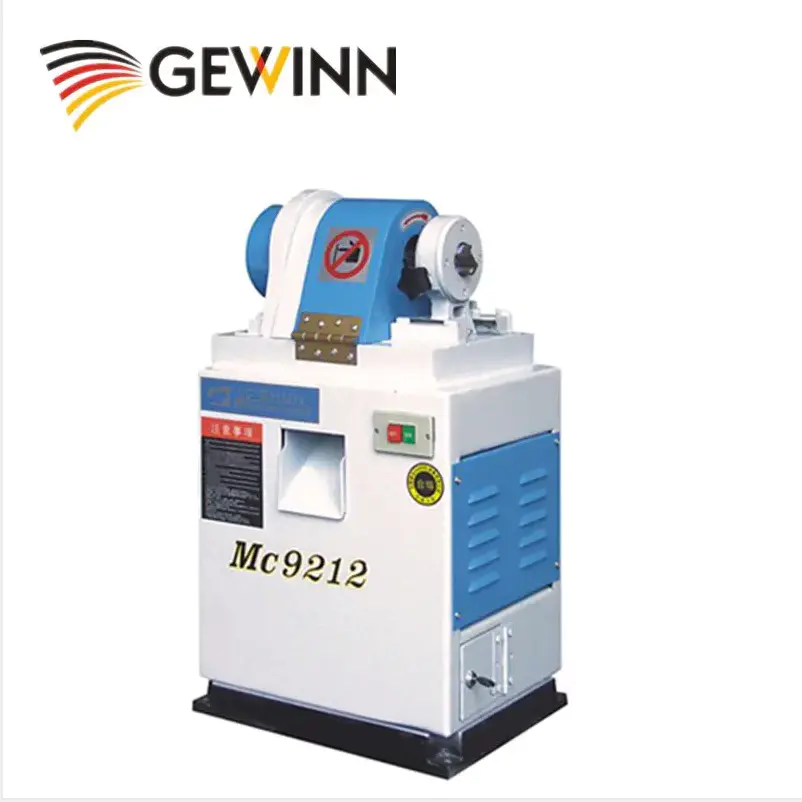
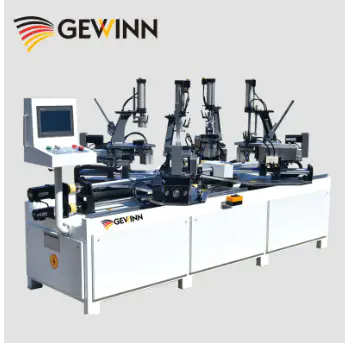
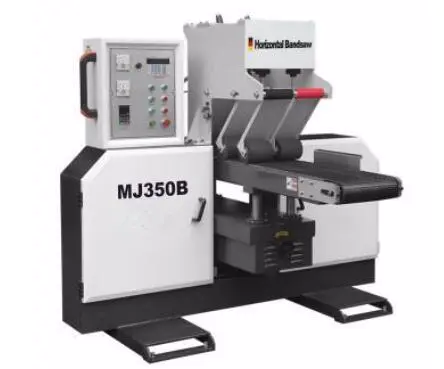
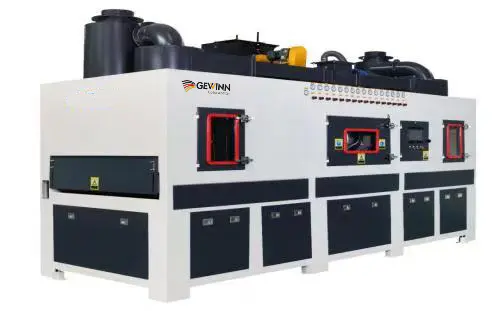
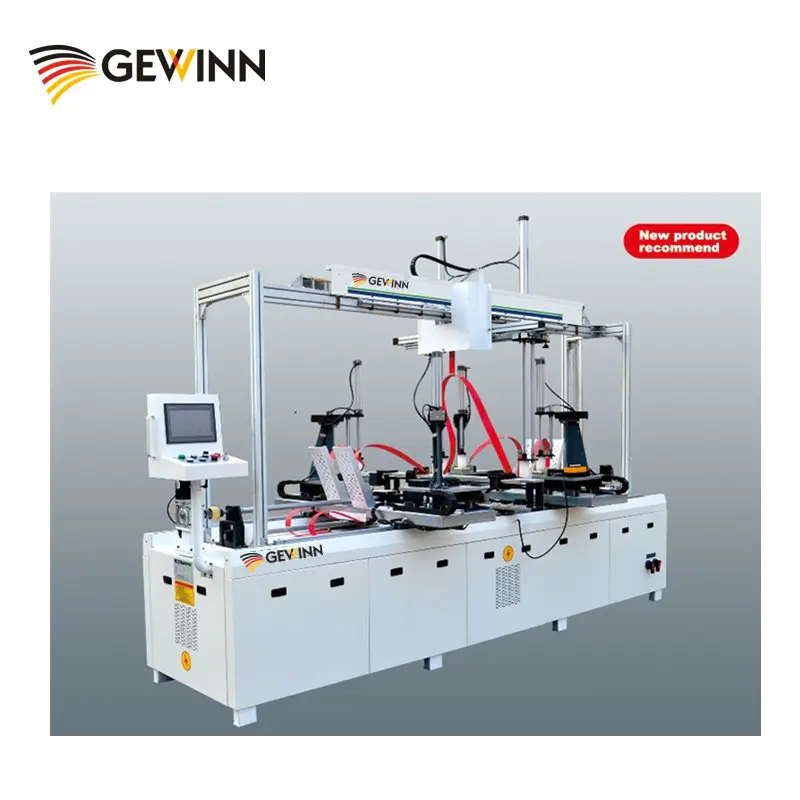
Products
building a drawer slide cnc machine for under $200!
by:Gewinn
2020-06-07
Like many of us are interested in this hobby, I want my own machine for less than $200.
But I don\'t want to delve into it, spend more than $2 k and have a big paperweight in my store.
The idea was born for a simple, cheap, somewhat precise CNC machine that I can modify as I gain knowledge (and funds).
The first step in this process is to decide what hardware I will use.
I ordered TB6560-
The 3-axis drive is purchased from eBay for $22.
00/free shipping.
I chose this driver because it is very affordable and this is the way I choose most of the components for this project.
Next is 12 V 8.
5A switching power supply, also purchased from eBay for $14.
99/free shipping for stepping motors, I found a lot of 5 units on eBay for $10.
00/free shipping.
They are small, but they actually provide enough energy for this machine (
I\'m not milling aluminum and x.
Y small).
The spindle is probably the most important part of the machine.
If you run out of stuff
The movement in the shaft/bearing that makes the tool \"swing)
It\'s hard for you to achieve any kind of accuracy.
It was a mistake I made and I chose Dremel 100.
This is a great tool, don\'t get me wrong, but it is made of plastic case with a speed of 35,000 RPM so it has a lot of running timeout.
It takes a lot of misc hardware parts to make this machine, but most of them can be found in your local Lowes, Home Depot, or local hardware store.
I will list the required materials in detail here: Also, you need some kind of software (
It\'s obviously a computer)
Operate the machine and make drawings. I use Mach3(free. . .
For the control software, I finished most of the drawings in Turbo Cad for Mac.
There are many options, some more expensive than others.
** Edit ** I forgot to mention what I would do with a laser cutter if I won!
I will do a lot of crafts and projects to benefit the non-profit organizations I am involved in.
This is a great organization that helps children improve their self-esteem and self-confidence. (2)2”x4”x8’(2)
Heavy drawer slide pair (1)
Small linear guide (
Bought $5 on eBay00/free ship)for Z axis(1)
Lu \'an plywood 2\' x2 \'1/8 \"plate (
Organic glass can also be used)(1)
Plexiglass or lexan Sheet \"to 3/8\" 10 \"x 10 \"(1)
3/8 \"x 36\" Aluminum Angle 3 (1)
3/8 \"x 36\" Aluminum U channel (1)
X 1/8x3 \'aluminum flat material (1)¼”-
20x3 rebar (lead screw)(3)¼”-
20 hex brackets 2 \"long (1)
Fuel line hose for connecting the motor to the rebar (1)
Super glue tube (4)
Wooden screws used to secure the drawer slide on the frame (16)
Nuts and Bolts 10-24 x 5/8”(12)
8-nuts and bolts32 x 3/8”(2)
Drill sleeve (
For screw support)Wire:-
Hook for stepping motor
Determined by the stepping motor (how many wires)
And how far your driver has been placed. -
Power cord for power supply (
3 wires used for old power tools)-
Small length 12ga wire for driving power supply (
From power)+ and –1.
As shown in the figure, build a 2x4 framework first. 2.
Connect the drawer slides to frame 3.
Glue or weld a small piece of metal plate (with holes)
, Or the plastic is attached to the hex bracket of the lead screw and to the bottom of the X and Y axes.
Attach the x-axis plywood, luan, or plexiglass.
Connect the next set of drawer slides to X axis6.
Organic glass connecting Y axis (10\" x 10\")
Drawer slides to X axis 7.
Next, connect the small linear slider to the upper Z stand 8.
Connect a small piece of plexiglass or any other rigid material of the z axis, as well as another hex bracket mounted on the back of the screw. 9.
Depending on the choice of the spindle motor, you have to figure out how to install it.
I used a 2 \"plastic pipe rack and found it at the Lowes in the pipe section. 10.
Also, depending on the stepping motor of your choice, you will have a different choice when installing them.
I install them with aluminum corners.
Custom message
Related Products