Indonesia
 Deutsch
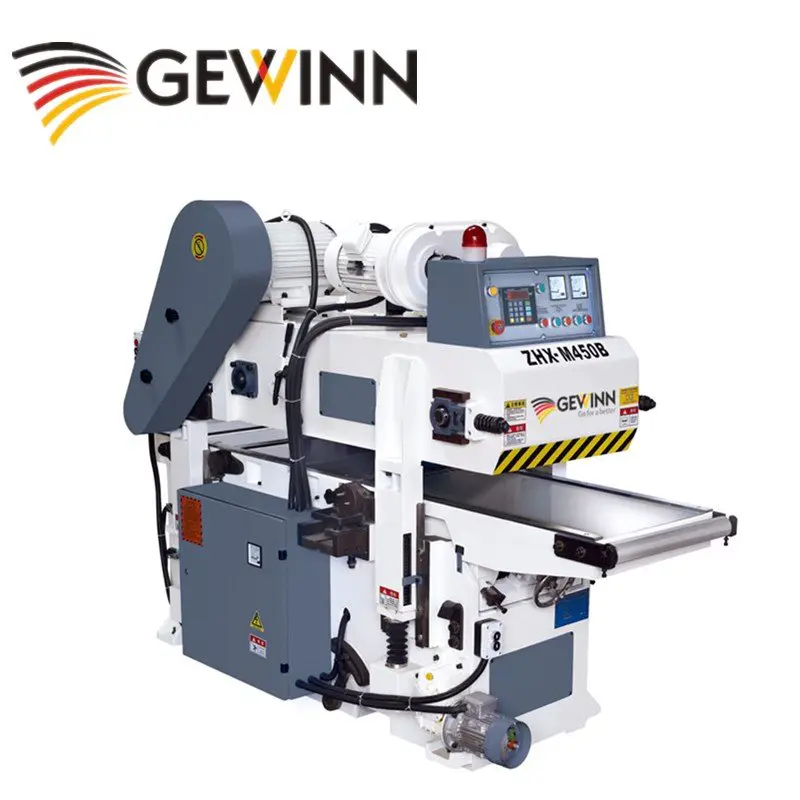
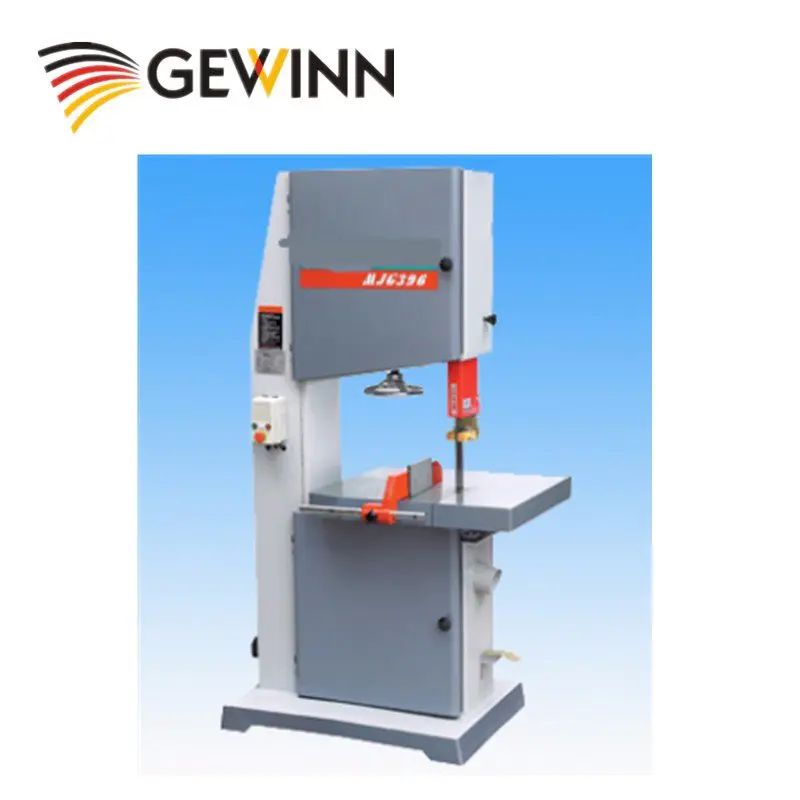
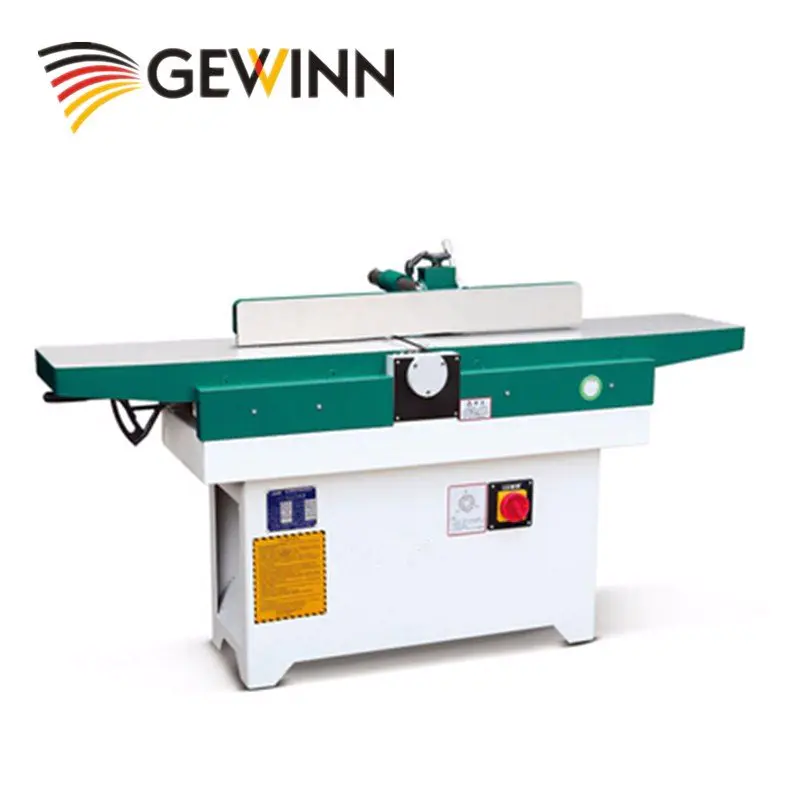
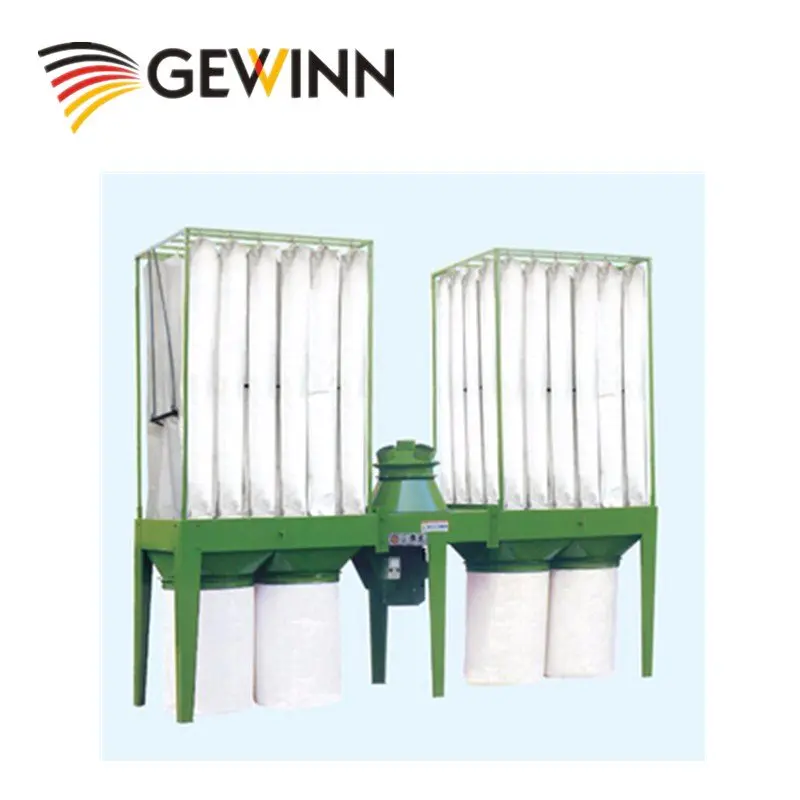
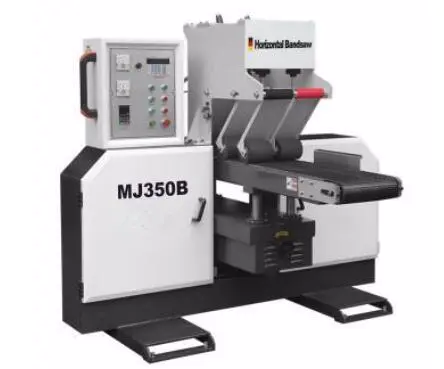
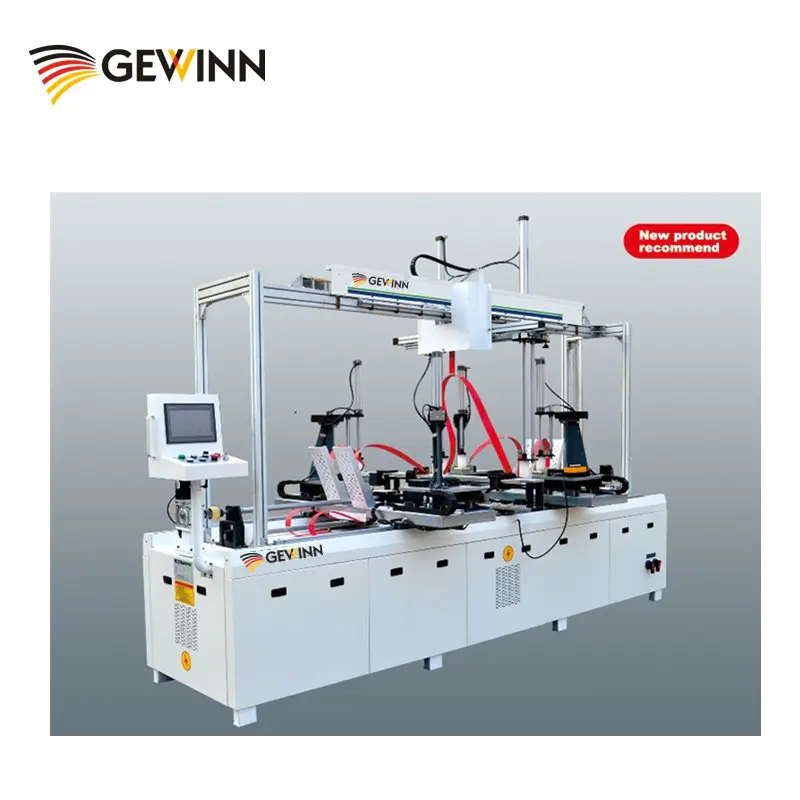
Shipment of CNC Machines
Products
diy carbide lathe tools for cheap
by:Gewinn
2020-06-04
I have been working on Wood recently and I want a nice set of tools.
Most lathe chisels and chisels are high speed steel (HSS)
But they need to keep grinding and leave what they want.
Premium Wood handlebars use replaceable hard alloy blades that are much longer to keep sharp, but you also have to pay extra for them.
Instead of paying about $100 per tool, I started making it myself.
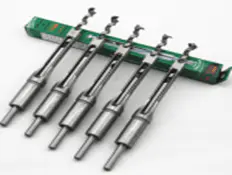
Having said so much, having done so much, I have invested $53 in two cemented carbide cutters, I still have 6 regular steel chisels and chisels left from the material I purchased for this project.
Not too shabby
How is this done!
I \'ve seen instructions where people turn their own hard wooden handles, make custom ferrules with copper pipes, cut or process their own tool shafts, and even empty their handles and load them with bullets, to reduce vibration.
While I may end up doing this, I want more instant gratification.
From now until now, I want a hard alloy cutter. So. . .
I decided to use a cheap supply chisel as a handle for my own carbide cutter.
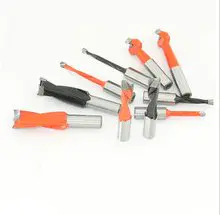
I purchased a set of 8 lathe tools for $20 from port shipping.
I also purchased a pair of hard alloy blades from Easy Wood Tools on Amazon.
I decided to use Ci0 round knife and Ci1-
Square cutter R2.
Both carbide blades have their own 8-
32 press and hold the screw.
If you follow this guide word by word, here is a link to what I bought: Also needed: taps and molds, especially 8-32 tap. A scratch awl. A center punch.
Drill bit and drill bit.
Guide the drill with a 1/8 bit and something. (
If you have one)
Combined square.
Something that protects bare metal
I had Johnson\'s paste, so I used it.
I have listed all my tools and plugins to test which one can accommodate each one.
I decided to support the square knife with a round knife of 1/2 \"and support the round knife with a pointed tool.
Fix the parts together and check how they are arranged before and after.
You want the carbide blade to be centered on the width of the chisel shaft, you want the blade to extend beyond the cutting edge of the original tool, but there is still enough material to tap the thread by the entire thickness of the chisel.
Once you have arranged it the way you want it, use the interior of the carbide plug-in as a guide, draw a circle on the steel tool shaft.
* Please note that the carbide blade is very sharp!
You have to be careful when dealing with them so you don\'t cut yourself.
It\'s a good idea to wear heavy gloves.
Now that you already know roughly where you want to find the carbide blade on each tool, it\'s time to mark the exact location of the drill.
Use a combined square to draw a central line under each tool.
Set the square to a slightly shy center and draw a line on each side.
Adjust your square if needed, then draw another set of lines until you find the exact center line for each steel.
Using the same square, draw a line at the center of a circle perpendicular to the center line.
Now you have the intersection line that should be in the middle of the first circle you draw.
Be sure to take a closer look at the mark you made.
If something is not lined up, now is the time to fix it!
If you are satisfied with the marking on the chisel, mark the position using the center punch for drilling.
This helps you arrange things and it will guide the bit to the right position before it starts cutting without \"moving around \".
Use the pilot drill bit to align the mark from your center punch and go all the way through the chisel blade.
With 1/8\"or 29)
Ready to tap the thread.
Note that you can use the 1/8 bit first, but I like to drill with a bit that I don\'t mind breaking. Using an 8-
32 tap, it\'s time to put the thread in the hole you \'ve drilled.
The secret of tapping the thread, especially in steel, is to use a lot of lubrication, slowly and stably, and to remove the cut on the tap.
Place the oil-coated faucet in the chisel blade as straight as possible.
Keep in mind that you are cutting the metal.
You need to turn the tap forward until you feel the resistance and then turn a little back to clear the cut.
This is a process of \"further retreat before two steps.
You may even need to screw off the tap completely to clean up the metal pieces inside.
Clean the chip often so you don\'t fill the groove in the tap and start plugging the tool.
Running out of oil and paper towels is better than breaking the tap.
When you finish tapping the thread, take the time to clean up everything.
Oily metal debris cannot be well mixed with tools, wood or paint.
They are also very hot and produce unpleasant fragments.
The screws of the hard alloy blade I used extend a little under the flat surface at the bottom of the hard alloy.
Because of this, you just need to sink the hole a little bit to fully tighten the screw and hold down the carbide blade.
I used a 1/4 bit and drilled down a hole large enough to reach the full width of the head of the bit.
You can test whether your blade is appropriate between the holes to customize this gap, but that\'s the depth that suits me.
Just don\'t be too deep, reduce the length of the thread more than you have.
One of my chisels was a bit rusty, so I ground the rust off.
I\'m not going to use sandpaper on a nice chisel, but this is the $20 purchase of the 1/8, I just use it as a tool rack, so I decided not to feel too bad about it.
Unprotected metals rust due to humidity in the air, so it is important to apply something to the tool to prevent moisture.
Since I used Johnson\'s paste wax on my desk, I applied it to the unprotected blade of my chisel.
Many other products also exist, but make sure that any product you use does not contain oil or silicone that may cause problems with paint and finishes.
Now you can screw your carbide blade to the lathe you have prepared!
Check if they fit.
Make sure that they are centered on the chisel blade and that the cutting surface of the original chisel does not extend to the bottom of the carbide blade.
You want to tighten the carbide, but be careful because the carbide is brittle and will break under pressure.
There\'s something too tight.
Also, keep in mind that the carbide blade is sharp!
If your hold-and-hold screws extend beyond the bottom of the chisel, you may want to grind off the excess and make them flush so they don\'t get stuck on your tool.
I made this with a desktop grinder, but you can do this with many different tools.
Hacksaw, Dremel, sand plate, etc.
If you expose bare metal, also make sure to protect it with some wax.
I might adjust the tools a little bit, but they become a very good tool (and affordable)
A set of carbide knives!
I\'m happy to throw potato chips on the garage floor again.
When I tighten the square cutter I need to come up with a better way to align it.
The advanced workers who use these plug-ins have a rack that is ground into a rack to position the cutter and prevent it from spinning when you tighten the screw.
Now, I\'m satisfied enough with manually indexing it until I get it right.
Again, be careful how sharp the blade is when you handle it!
I am also curious about the feeling of the round bottom tool.
Most chisels are flat, but you can swing and roll a circle of round chisels on the tool base and feel good, so I\'ll end up trying to figure out a way, install these knives on the round rod and achieve this feeling.
What do you think?
Have you done such a project?
What are you doing better?
What should I do next time?
Thanks for reading!
Most lathe chisels and chisels are high speed steel (HSS)
But they need to keep grinding and leave what they want.
Premium Wood handlebars use replaceable hard alloy blades that are much longer to keep sharp, but you also have to pay extra for them.
Instead of paying about $100 per tool, I started making it myself.
Having said so much, having done so much, I have invested $53 in two cemented carbide cutters, I still have 6 regular steel chisels and chisels left from the material I purchased for this project.
Not too shabby
How is this done!
I \'ve seen instructions where people turn their own hard wooden handles, make custom ferrules with copper pipes, cut or process their own tool shafts, and even empty their handles and load them with bullets, to reduce vibration.
While I may end up doing this, I want more instant gratification.
From now until now, I want a hard alloy cutter. So. . .
I decided to use a cheap supply chisel as a handle for my own carbide cutter.
I purchased a set of 8 lathe tools for $20 from port shipping.
I also purchased a pair of hard alloy blades from Easy Wood Tools on Amazon.
I decided to use Ci0 round knife and Ci1-
Square cutter R2.
Both carbide blades have their own 8-
32 press and hold the screw.
If you follow this guide word by word, here is a link to what I bought: Also needed: taps and molds, especially 8-32 tap. A scratch awl. A center punch.
Drill bit and drill bit.
Guide the drill with a 1/8 bit and something. (
If you have one)
Combined square.
Something that protects bare metal
I had Johnson\'s paste, so I used it.
I have listed all my tools and plugins to test which one can accommodate each one.
I decided to support the square knife with a round knife of 1/2 \"and support the round knife with a pointed tool.
Fix the parts together and check how they are arranged before and after.
You want the carbide blade to be centered on the width of the chisel shaft, you want the blade to extend beyond the cutting edge of the original tool, but there is still enough material to tap the thread by the entire thickness of the chisel.
Once you have arranged it the way you want it, use the interior of the carbide plug-in as a guide, draw a circle on the steel tool shaft.
* Please note that the carbide blade is very sharp!
You have to be careful when dealing with them so you don\'t cut yourself.
It\'s a good idea to wear heavy gloves.
Now that you already know roughly where you want to find the carbide blade on each tool, it\'s time to mark the exact location of the drill.
Use a combined square to draw a central line under each tool.
Set the square to a slightly shy center and draw a line on each side.
Adjust your square if needed, then draw another set of lines until you find the exact center line for each steel.
Using the same square, draw a line at the center of a circle perpendicular to the center line.
Now you have the intersection line that should be in the middle of the first circle you draw.
Be sure to take a closer look at the mark you made.
If something is not lined up, now is the time to fix it!
If you are satisfied with the marking on the chisel, mark the position using the center punch for drilling.
This helps you arrange things and it will guide the bit to the right position before it starts cutting without \"moving around \".
Use the pilot drill bit to align the mark from your center punch and go all the way through the chisel blade.
With 1/8\"or 29)
Ready to tap the thread.
Note that you can use the 1/8 bit first, but I like to drill with a bit that I don\'t mind breaking. Using an 8-
32 tap, it\'s time to put the thread in the hole you \'ve drilled.
The secret of tapping the thread, especially in steel, is to use a lot of lubrication, slowly and stably, and to remove the cut on the tap.
Place the oil-coated faucet in the chisel blade as straight as possible.
Keep in mind that you are cutting the metal.
You need to turn the tap forward until you feel the resistance and then turn a little back to clear the cut.
This is a process of \"further retreat before two steps.
You may even need to screw off the tap completely to clean up the metal pieces inside.
Clean the chip often so you don\'t fill the groove in the tap and start plugging the tool.
Running out of oil and paper towels is better than breaking the tap.
When you finish tapping the thread, take the time to clean up everything.
Oily metal debris cannot be well mixed with tools, wood or paint.
They are also very hot and produce unpleasant fragments.
The screws of the hard alloy blade I used extend a little under the flat surface at the bottom of the hard alloy.
Because of this, you just need to sink the hole a little bit to fully tighten the screw and hold down the carbide blade.
I used a 1/4 bit and drilled down a hole large enough to reach the full width of the head of the bit.
You can test whether your blade is appropriate between the holes to customize this gap, but that\'s the depth that suits me.
Just don\'t be too deep, reduce the length of the thread more than you have.
One of my chisels was a bit rusty, so I ground the rust off.
I\'m not going to use sandpaper on a nice chisel, but this is the $20 purchase of the 1/8, I just use it as a tool rack, so I decided not to feel too bad about it.
Unprotected metals rust due to humidity in the air, so it is important to apply something to the tool to prevent moisture.
Since I used Johnson\'s paste wax on my desk, I applied it to the unprotected blade of my chisel.
Many other products also exist, but make sure that any product you use does not contain oil or silicone that may cause problems with paint and finishes.
Now you can screw your carbide blade to the lathe you have prepared!
Check if they fit.
Make sure that they are centered on the chisel blade and that the cutting surface of the original chisel does not extend to the bottom of the carbide blade.
You want to tighten the carbide, but be careful because the carbide is brittle and will break under pressure.
There\'s something too tight.
Also, keep in mind that the carbide blade is sharp!
If your hold-and-hold screws extend beyond the bottom of the chisel, you may want to grind off the excess and make them flush so they don\'t get stuck on your tool.
I made this with a desktop grinder, but you can do this with many different tools.
Hacksaw, Dremel, sand plate, etc.
If you expose bare metal, also make sure to protect it with some wax.
I might adjust the tools a little bit, but they become a very good tool (and affordable)
A set of carbide knives!
I\'m happy to throw potato chips on the garage floor again.
When I tighten the square cutter I need to come up with a better way to align it.
The advanced workers who use these plug-ins have a rack that is ground into a rack to position the cutter and prevent it from spinning when you tighten the screw.
Now, I\'m satisfied enough with manually indexing it until I get it right.
Again, be careful how sharp the blade is when you handle it!
I am also curious about the feeling of the round bottom tool.
Most chisels are flat, but you can swing and roll a circle of round chisels on the tool base and feel good, so I\'ll end up trying to figure out a way, install these knives on the round rod and achieve this feeling.
What do you think?
Have you done such a project?
What are you doing better?
What should I do next time?
Thanks for reading!
Custom message
Related Products