Indonesia
 Deutsch
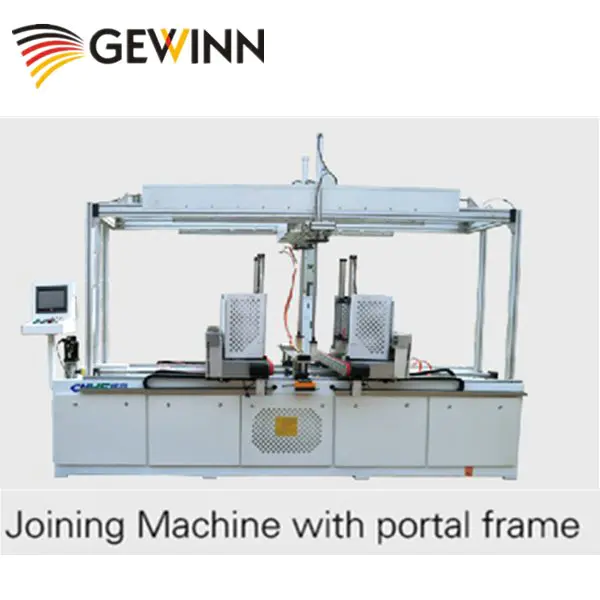
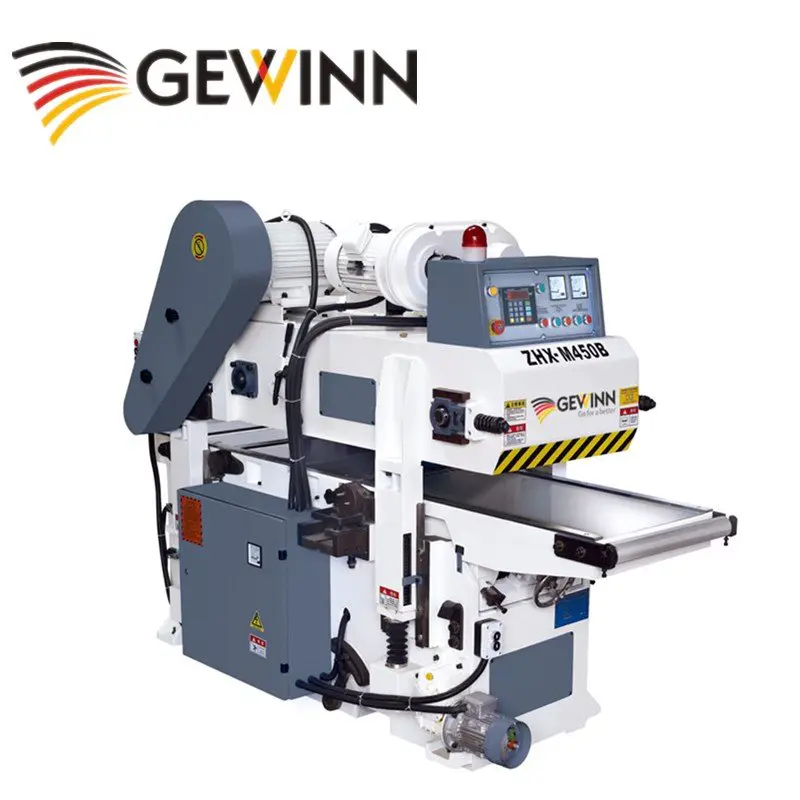
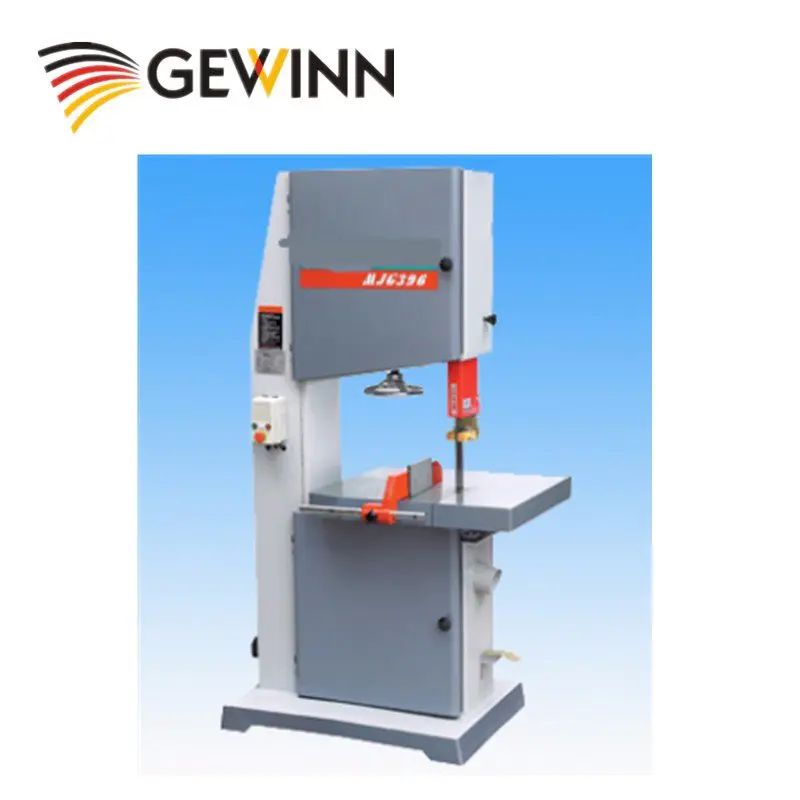
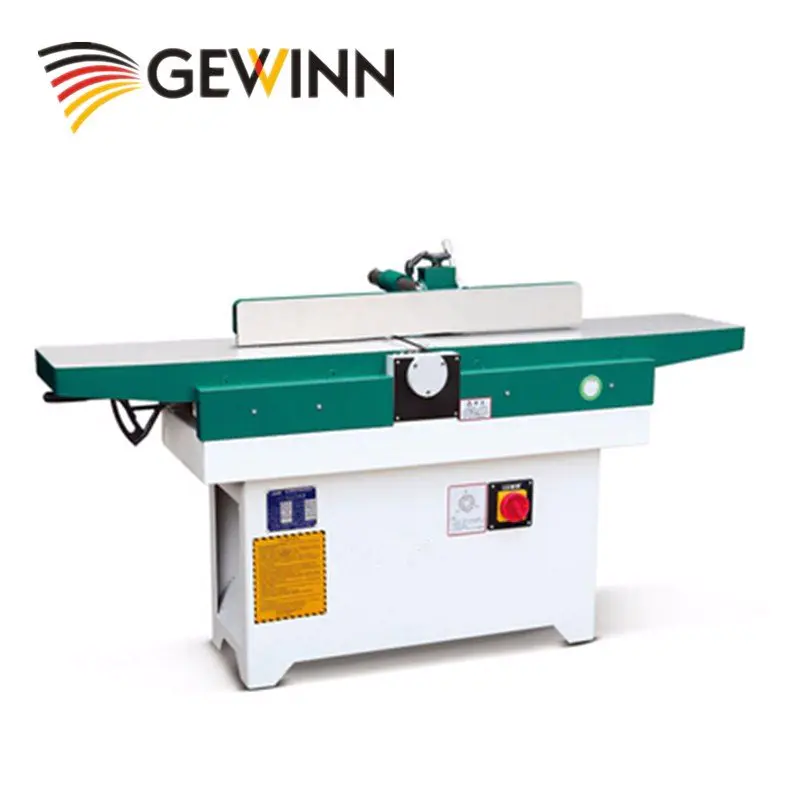
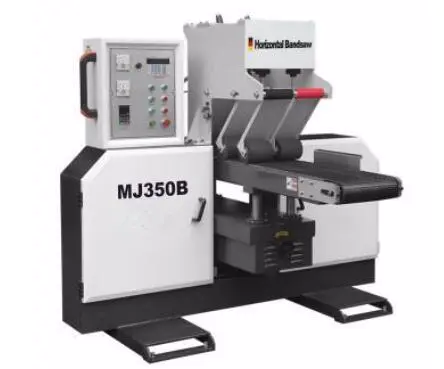
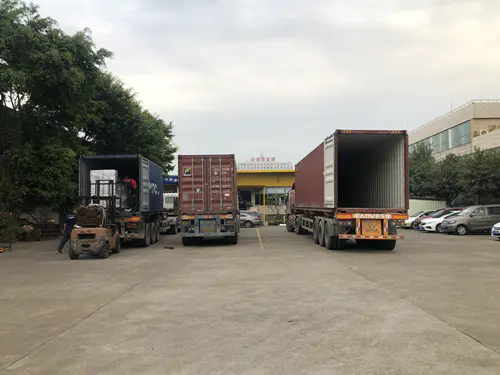
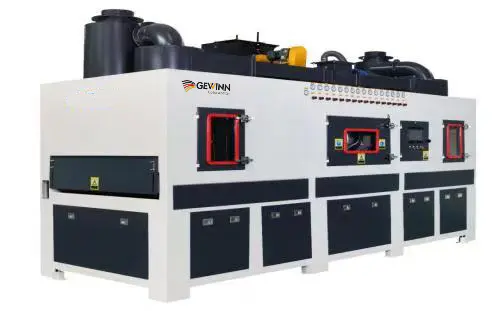
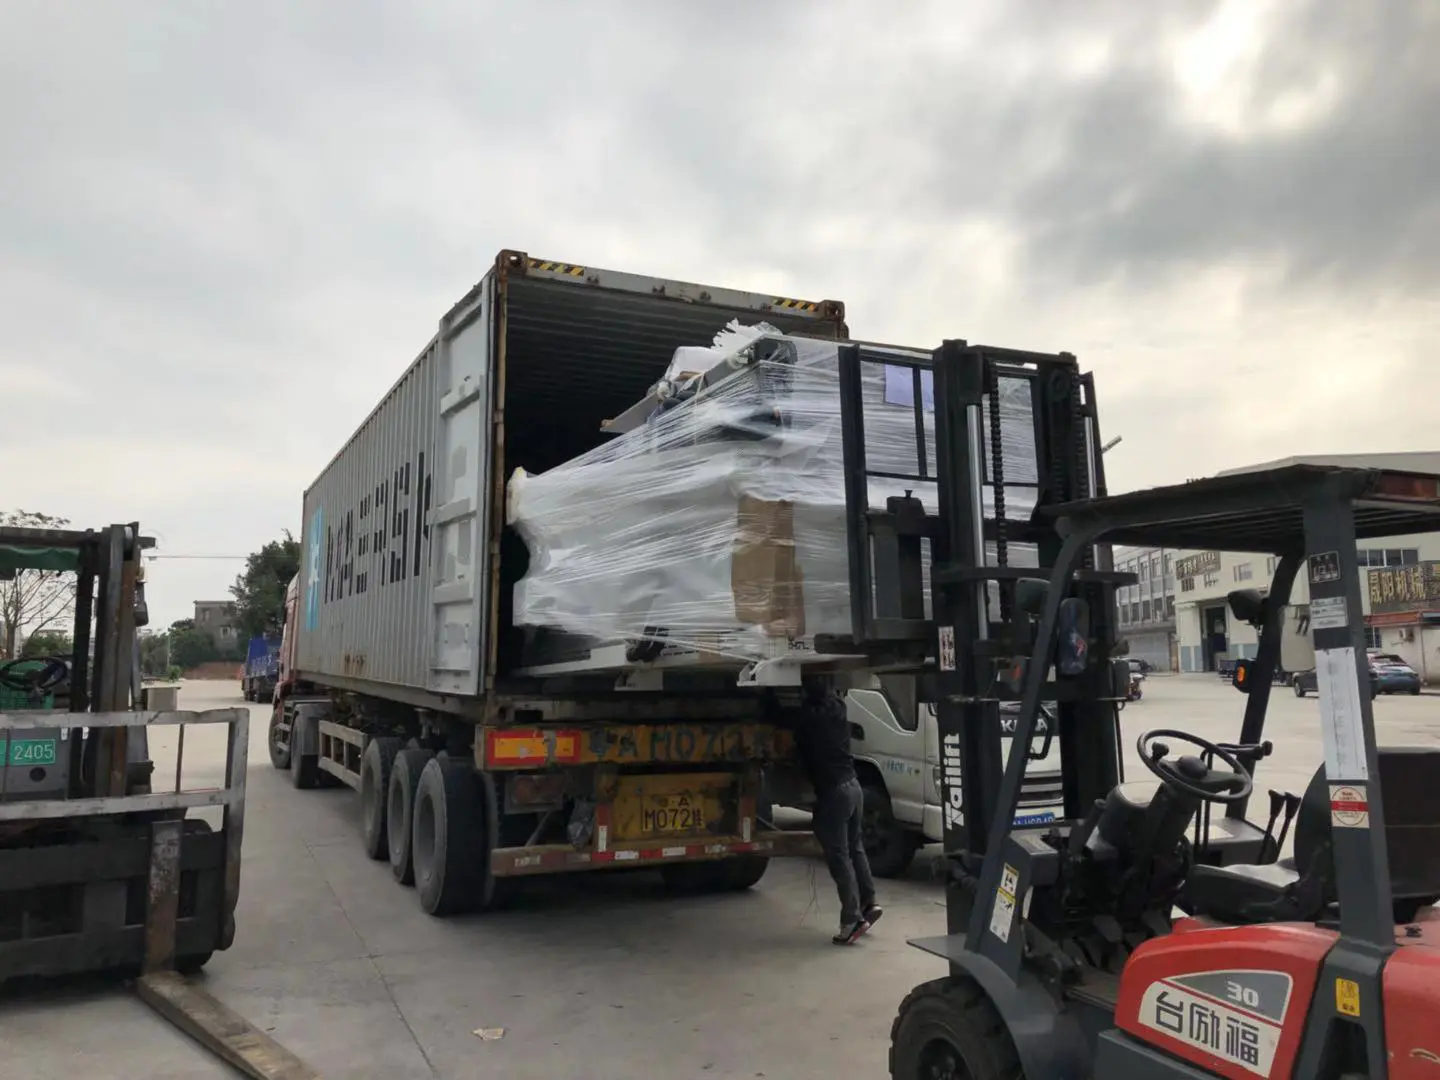
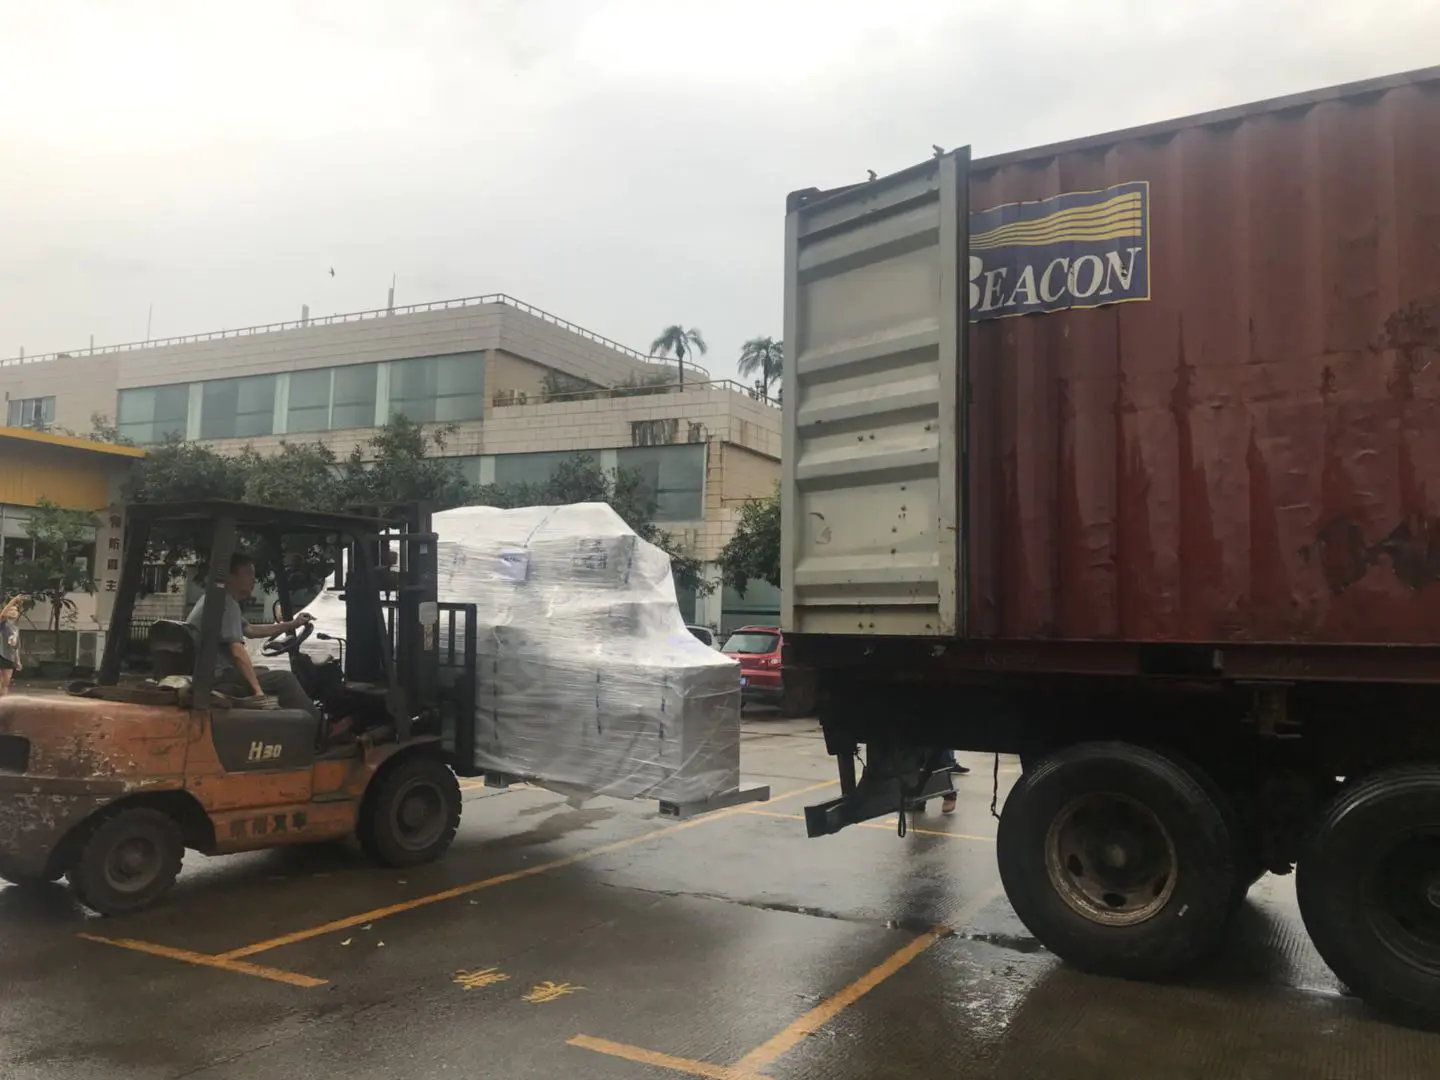
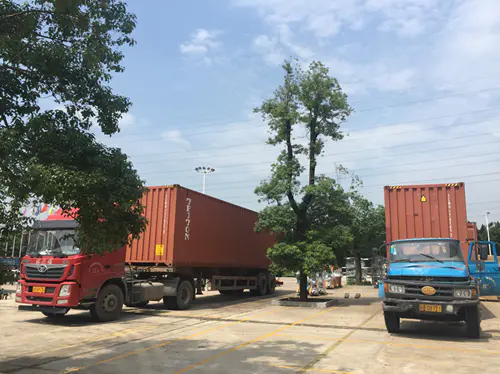
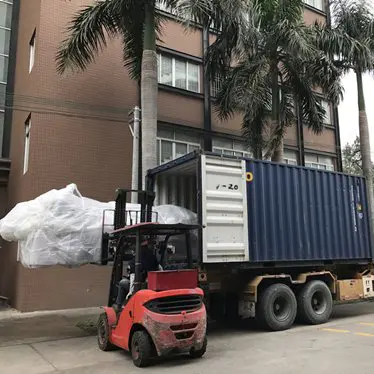
Shipment of CNC Machines
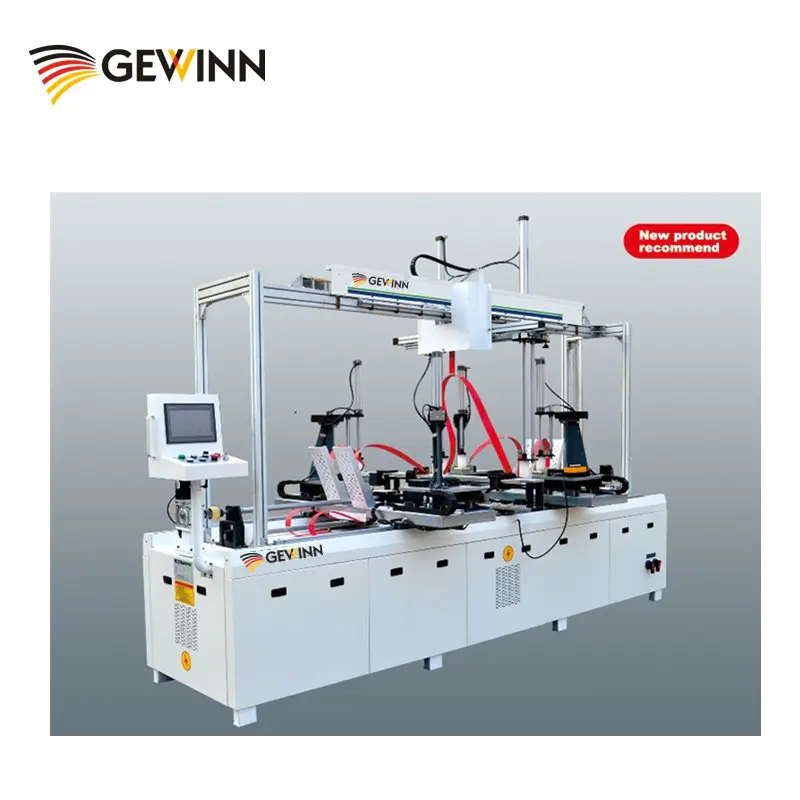
Products
low budget cnc
by:Gewinn
2020-06-06
This is the third iteration of my low budget CNC router design, which I started a few years ago when I needed a cheap CNC machine.
The idea behind this machine is that it should be cheap and simple to make it possible for people with low budgets (
Like I am a student)
A cnc machine can be built using only a few tools.
As a result, most parts can be found in a normal hardware store, and the design is simplified to only parts that need to be really necessary.
It should be possible to keep the cost below $200, including everything from nuts to cable sleeves and CNC controllers.
In this note I will try my best to explain how I made this machine so you can make one yourself!
Detailed bill of materials, 3D printed documents and drawings are provided in this manual.
I spent some time drawing the machine on Fusion360, which made it possible to look closely at the building.
Disclaimer CNC machine is not a toy, be careful when making and using it!
I cannot be held responsible for the damage you may suffer when making a machine or using it.
Nor can I be held responsible for the possible damage caused by any hardware used in this release.
Although I have put a lot of effort and time into this, there may still be something missing in the BOM, and there may also be errors in my drawings or descriptions --
Please write me if you find something like this.
Free to build and carve if you can agree to the terms above!
BOM contains all the features I use to build!
Details of wood and 3D printed parts can be obtained from 3D models.
Here, you can also extract stl files for printing through Fusion 360.
The length of the pipes depends very much on the depth you drill holes for them on the wood.
The length of the wire also depends on how you connect the machine.
In addition to the parts listed in the BOM file, you also need wooden parts.
They are made of 16mm medium fiber boards and painted before assembly.
Details of these parts can be obtained from the 3D model.
I used tools for making wooden parts with table saw, jigsaw puzzle and cordless electric drill.
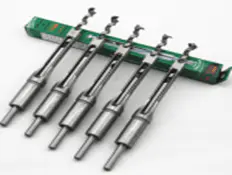
The holes in the plumb pipe are made of flat wooden drills, and are of moderate size.
You need to use this machine because some parts are 3D printed.
However, 3D printing parts are not absolutely necessary.
You can make an alternative without a 3D printer.
It took me some time to draw the model in 3D.
I have done most of the things myself, but I have used some of the GrabCAD resources in the model: USB panel mount module 17 motorAC plugamergency stop 608 bear, finally, here is the nut cover and Arduino UNO bumper: Arduin UNO BumperAnd finally the link to the full model, as shown in the figure, found here: the Fusion 360 model, after asking some questions about the drawings, I made several technical drawings showing the measurement results.
I also added STL files from the 3D model to facilitate 3D printing.
All sizes are Mm!
The pipe is used both as a linear guide and as a way to keep the machine together.
The pipe is drilled on the block to secure its position.
These holes are about half through the wood (i. e. 8 mm)
And drilled a 8mm center hole for the threaded rod.
The threaded rod is located inside the pipe, holding the machine together and partially fixing the pipe.
This can be clearly seen from the picture.
In the 3D model, the holes on the wood parts and the wood parts as well as the measurement of the aluminum angle can be found.
The aluminum corner sits on the piece of wood, and it can be seen from the picture below that the piece is carved with a groove of 1mm deep.
Grooves are also present in the 3D model where measurements can be made.
I run the machine using GRBL.
It has a lot of features, it\'s open source and gives you a USB interface (
Compared to normal CNC controller)
And run on Arduino UNO.
I only do the light tuning of speed and acceleration, so there may be some gains here.
But this is the balance between current and speed.
You may need more torque if you are trying to increase acceleration or speed. e.
You have to give the motor a higher current (
Thereby heating the driver).
I have adjusted the current to a level that does not need to add active cooling to the settings.
You can see my settings here.
I had some noise on the limit switch channel I bought for the cheap GRBL shield.
The NC contact group using the switch is not helpful, so this is a noise issue.
So I put 100 nF caps between GND and each channel to eliminate this.
Here are a few fotos that show me using CNC.
The two robots are made of 6mm plywood with a precision of more than 1mm.
Finally, a video of the machine routing aluminum can be seen here.
The important point of wiring aluminum is to get the correct drill bit, spindle speed and wiring speed.
This is of course the same for wood, but Wood is more forgiving than aluminum or pelxi glass.
I would like to have the possibility to put together the 3D model, BOM, picture and the clips in this short description table.
Please feel free to comment on the structure and/or design.
The idea behind this machine is that it should be cheap and simple to make it possible for people with low budgets (
Like I am a student)
A cnc machine can be built using only a few tools.
As a result, most parts can be found in a normal hardware store, and the design is simplified to only parts that need to be really necessary.
It should be possible to keep the cost below $200, including everything from nuts to cable sleeves and CNC controllers.
In this note I will try my best to explain how I made this machine so you can make one yourself!
Detailed bill of materials, 3D printed documents and drawings are provided in this manual.
I spent some time drawing the machine on Fusion360, which made it possible to look closely at the building.
Disclaimer CNC machine is not a toy, be careful when making and using it!
I cannot be held responsible for the damage you may suffer when making a machine or using it.
Nor can I be held responsible for the possible damage caused by any hardware used in this release.
Although I have put a lot of effort and time into this, there may still be something missing in the BOM, and there may also be errors in my drawings or descriptions --
Please write me if you find something like this.
Free to build and carve if you can agree to the terms above!
BOM contains all the features I use to build!
Details of wood and 3D printed parts can be obtained from 3D models.
Here, you can also extract stl files for printing through Fusion 360.
The length of the pipes depends very much on the depth you drill holes for them on the wood.
The length of the wire also depends on how you connect the machine.
In addition to the parts listed in the BOM file, you also need wooden parts.
They are made of 16mm medium fiber boards and painted before assembly.
Details of these parts can be obtained from the 3D model.
I used tools for making wooden parts with table saw, jigsaw puzzle and cordless electric drill.
The holes in the plumb pipe are made of flat wooden drills, and are of moderate size.
You need to use this machine because some parts are 3D printed.
However, 3D printing parts are not absolutely necessary.
You can make an alternative without a 3D printer.
It took me some time to draw the model in 3D.
I have done most of the things myself, but I have used some of the GrabCAD resources in the model: USB panel mount module 17 motorAC plugamergency stop 608 bear, finally, here is the nut cover and Arduino UNO bumper: Arduin UNO BumperAnd finally the link to the full model, as shown in the figure, found here: the Fusion 360 model, after asking some questions about the drawings, I made several technical drawings showing the measurement results.
I also added STL files from the 3D model to facilitate 3D printing.
All sizes are Mm!
The pipe is used both as a linear guide and as a way to keep the machine together.
The pipe is drilled on the block to secure its position.
These holes are about half through the wood (i. e. 8 mm)
And drilled a 8mm center hole for the threaded rod.
The threaded rod is located inside the pipe, holding the machine together and partially fixing the pipe.
This can be clearly seen from the picture.
In the 3D model, the holes on the wood parts and the wood parts as well as the measurement of the aluminum angle can be found.
The aluminum corner sits on the piece of wood, and it can be seen from the picture below that the piece is carved with a groove of 1mm deep.
Grooves are also present in the 3D model where measurements can be made.
I run the machine using GRBL.
It has a lot of features, it\'s open source and gives you a USB interface (
Compared to normal CNC controller)
And run on Arduino UNO.
I only do the light tuning of speed and acceleration, so there may be some gains here.
But this is the balance between current and speed.
You may need more torque if you are trying to increase acceleration or speed. e.
You have to give the motor a higher current (
Thereby heating the driver).
I have adjusted the current to a level that does not need to add active cooling to the settings.
You can see my settings here.
I had some noise on the limit switch channel I bought for the cheap GRBL shield.
The NC contact group using the switch is not helpful, so this is a noise issue.
So I put 100 nF caps between GND and each channel to eliminate this.
Here are a few fotos that show me using CNC.
The two robots are made of 6mm plywood with a precision of more than 1mm.
Finally, a video of the machine routing aluminum can be seen here.
The important point of wiring aluminum is to get the correct drill bit, spindle speed and wiring speed.
This is of course the same for wood, but Wood is more forgiving than aluminum or pelxi glass.
I would like to have the possibility to put together the 3D model, BOM, picture and the clips in this short description table.
Please feel free to comment on the structure and/or design.
Custom message
Related Products