Indonesia
 Deutsch
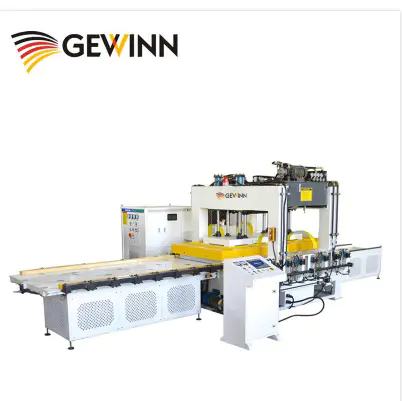
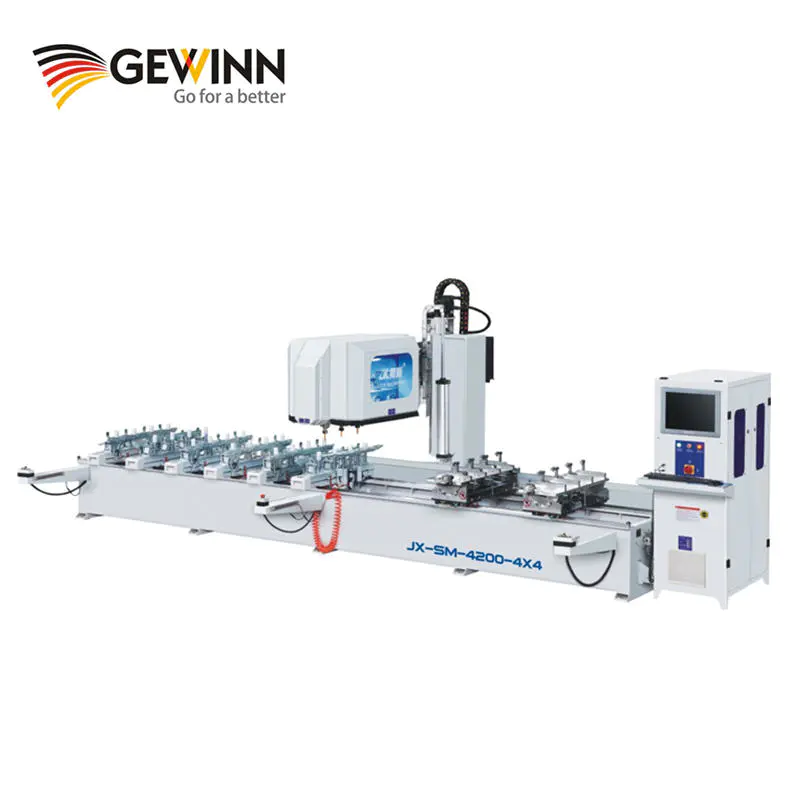
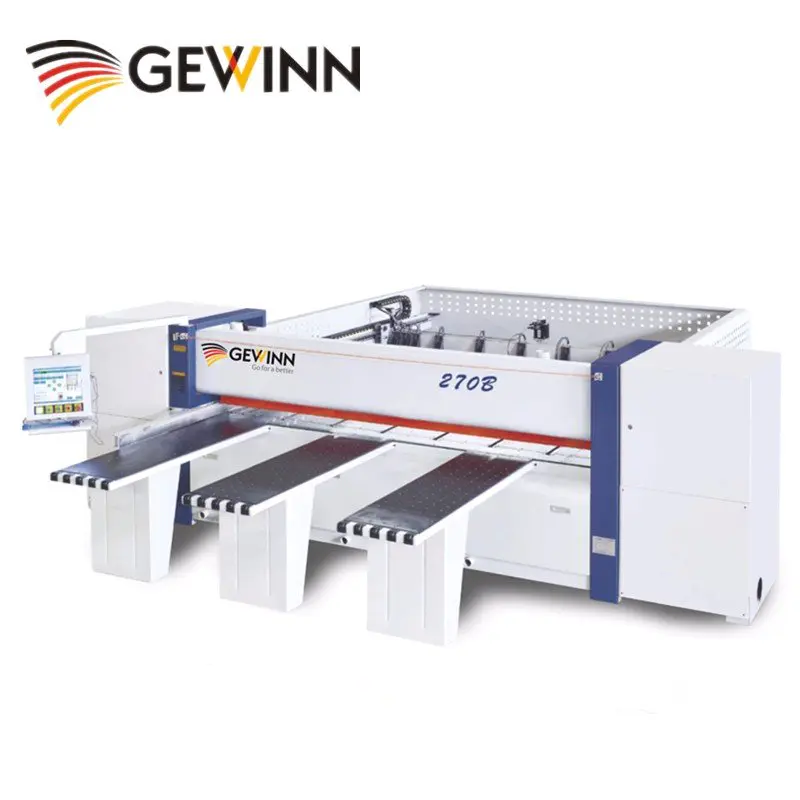
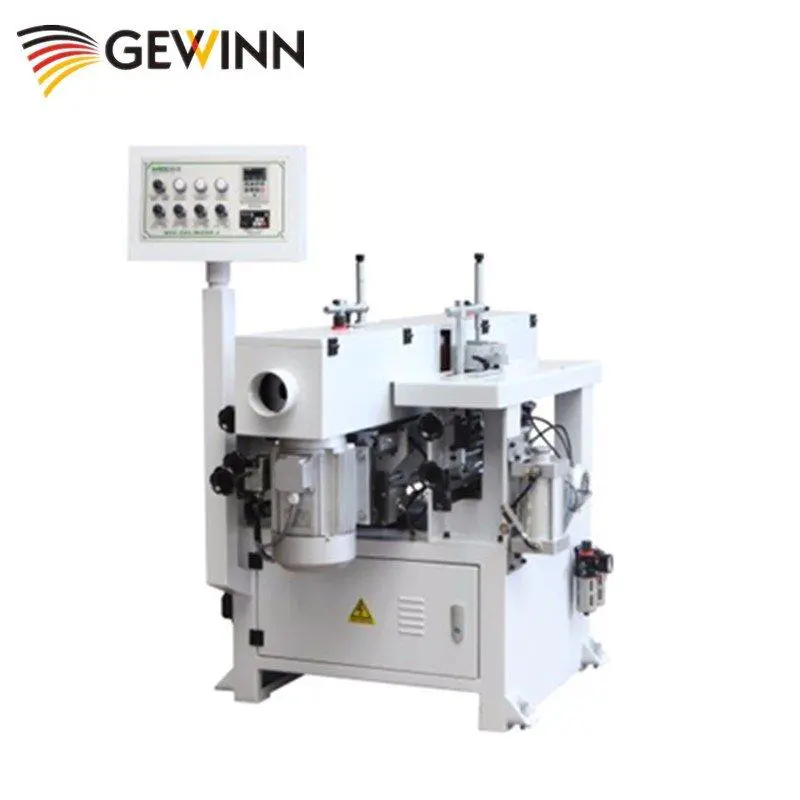
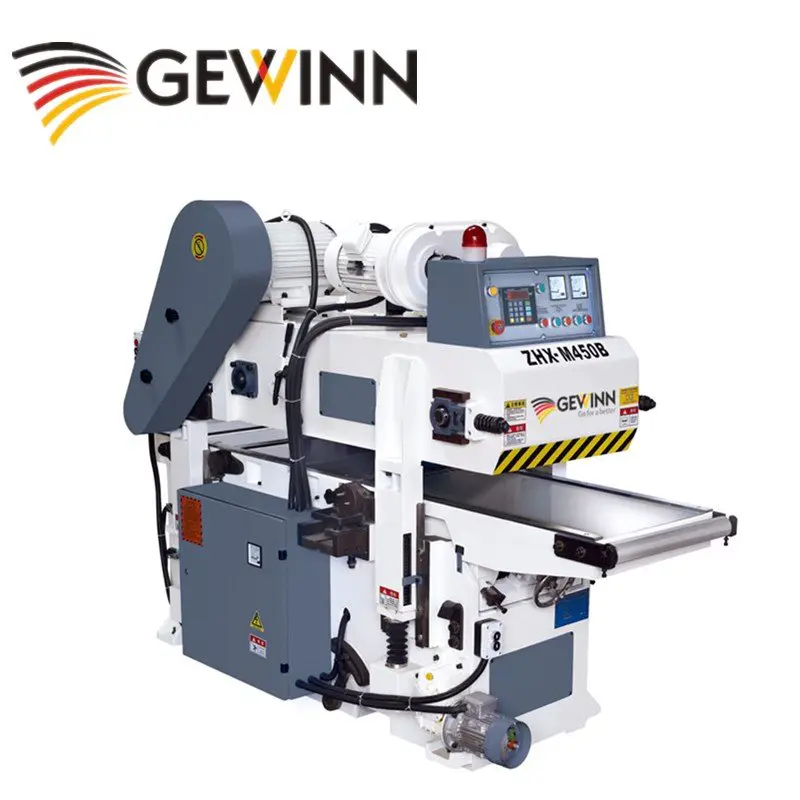
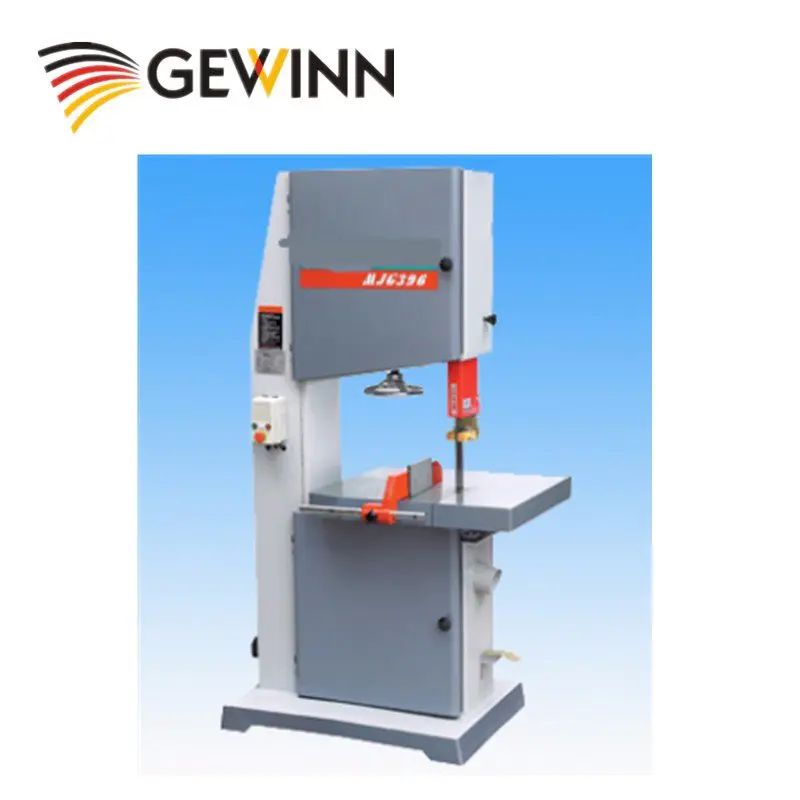
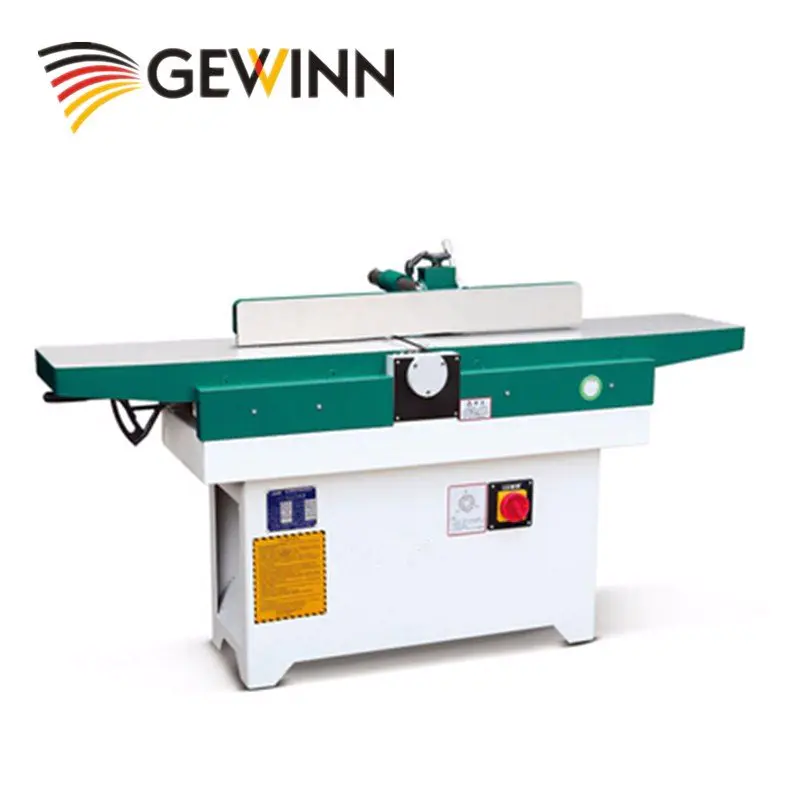
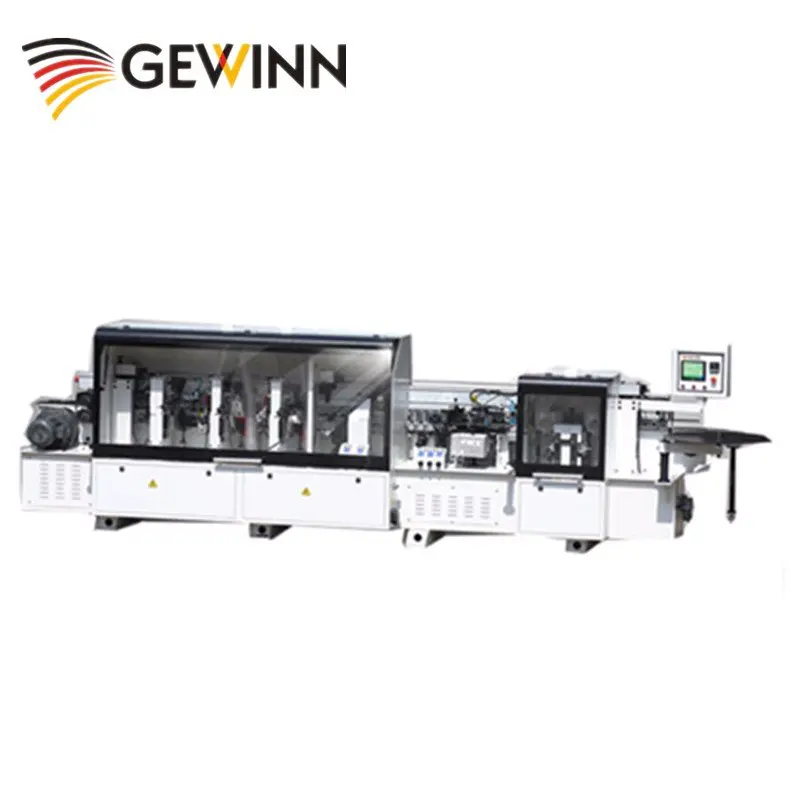
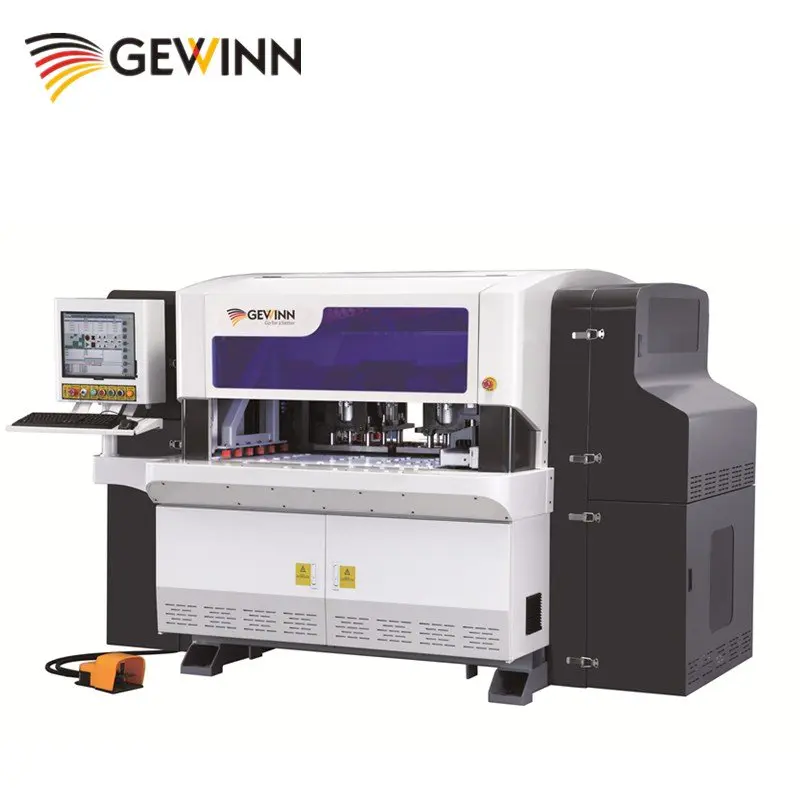
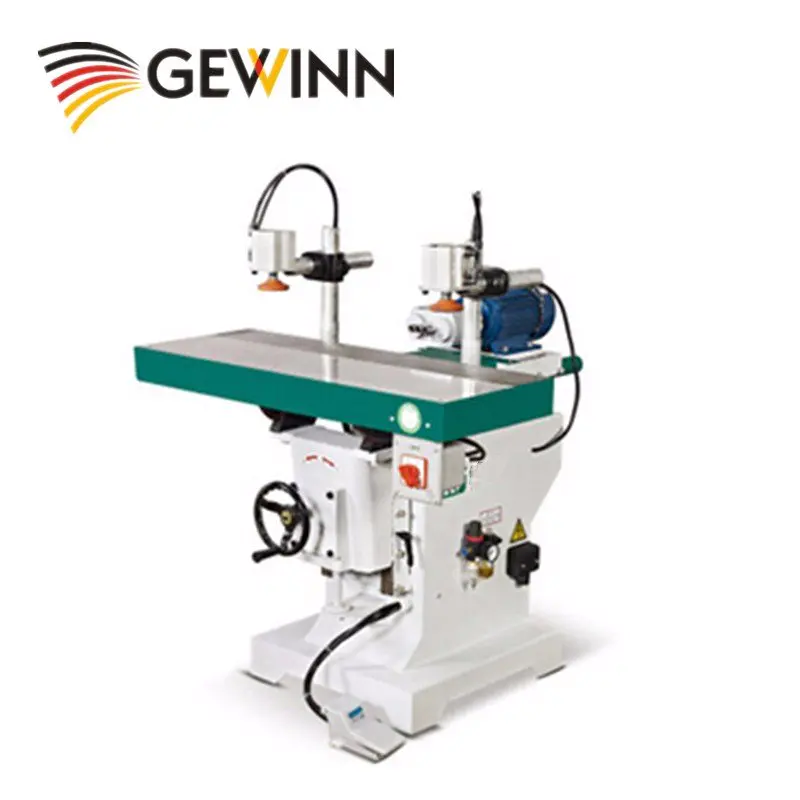
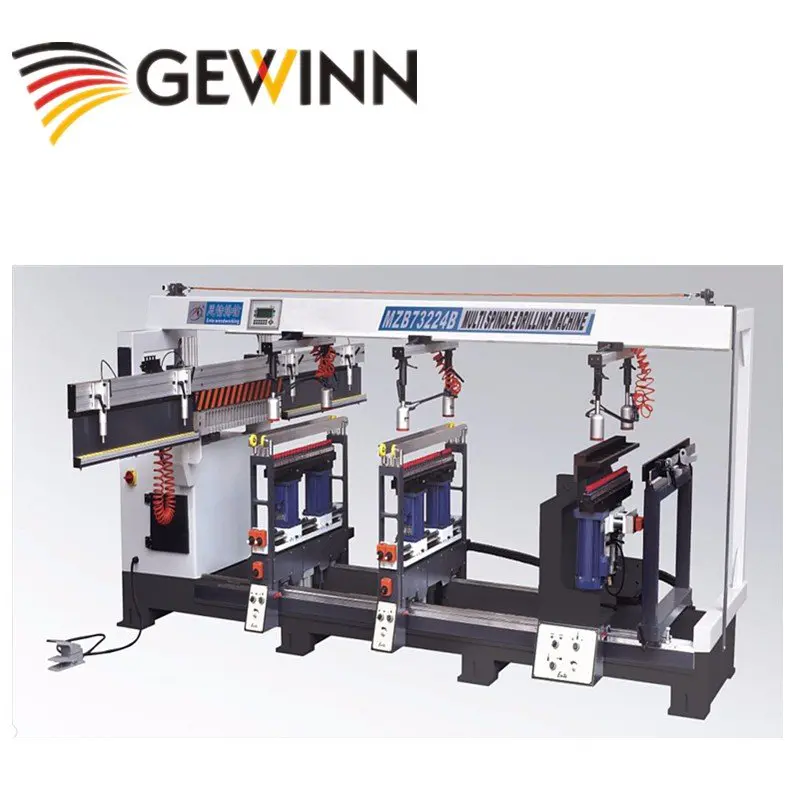
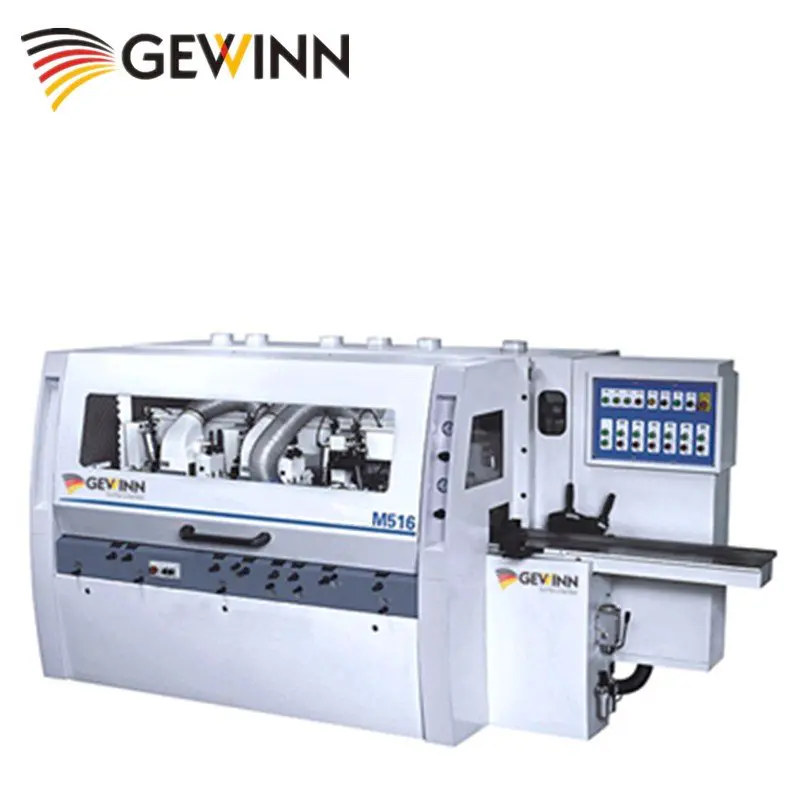
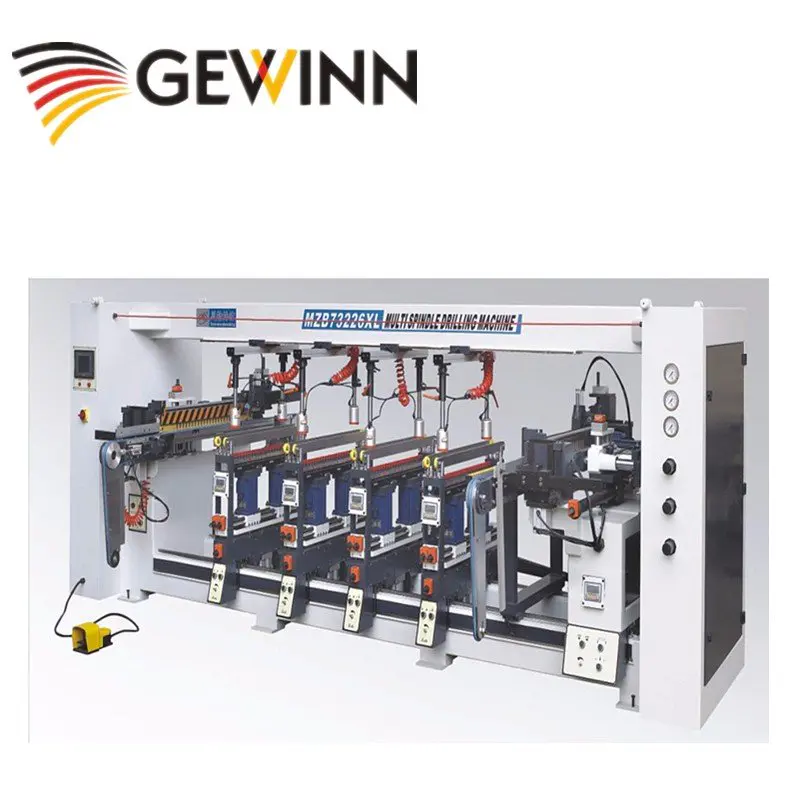
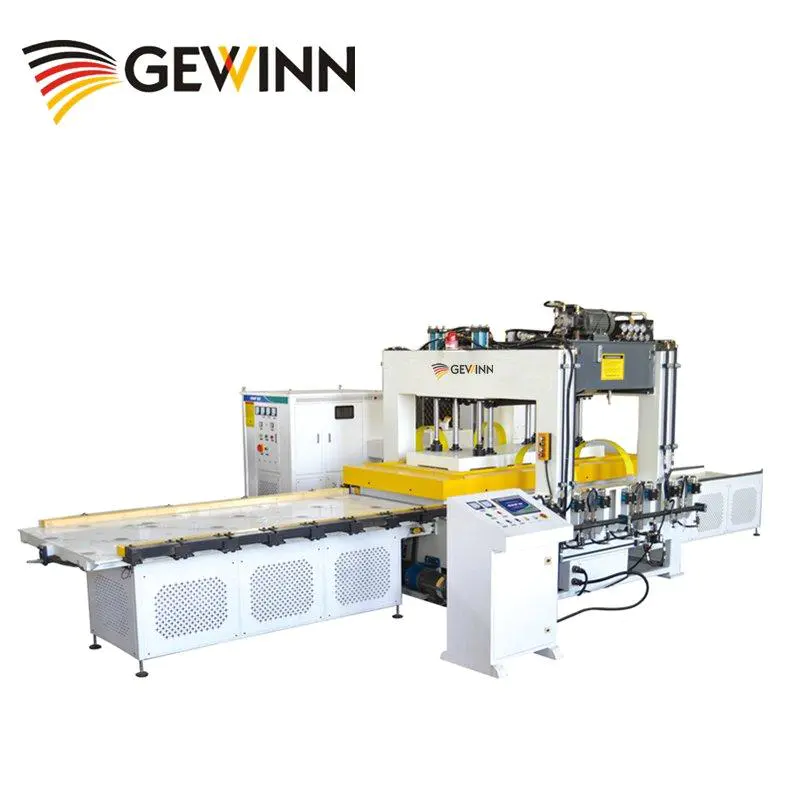
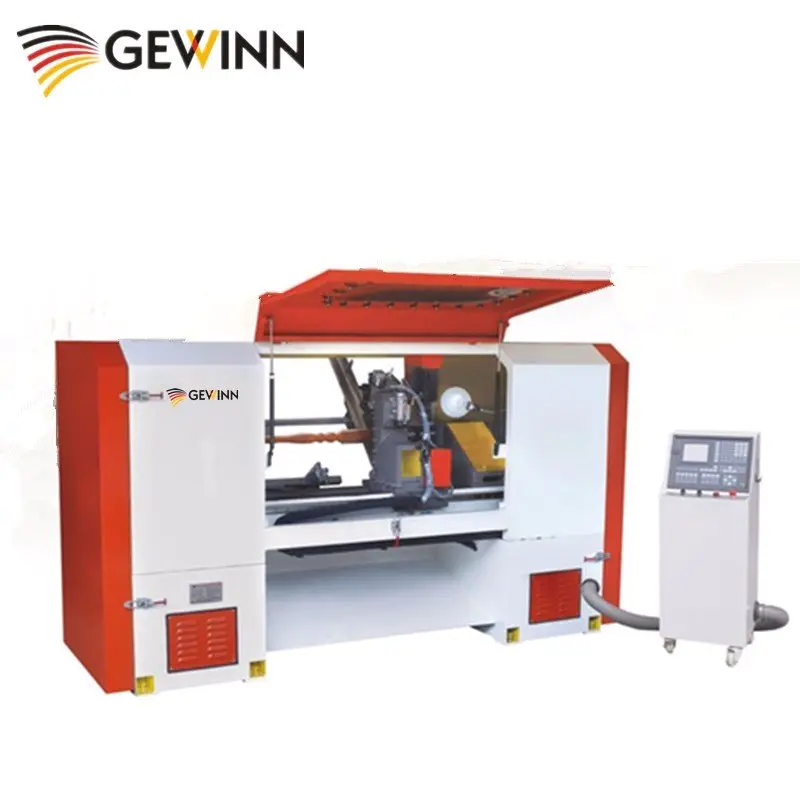
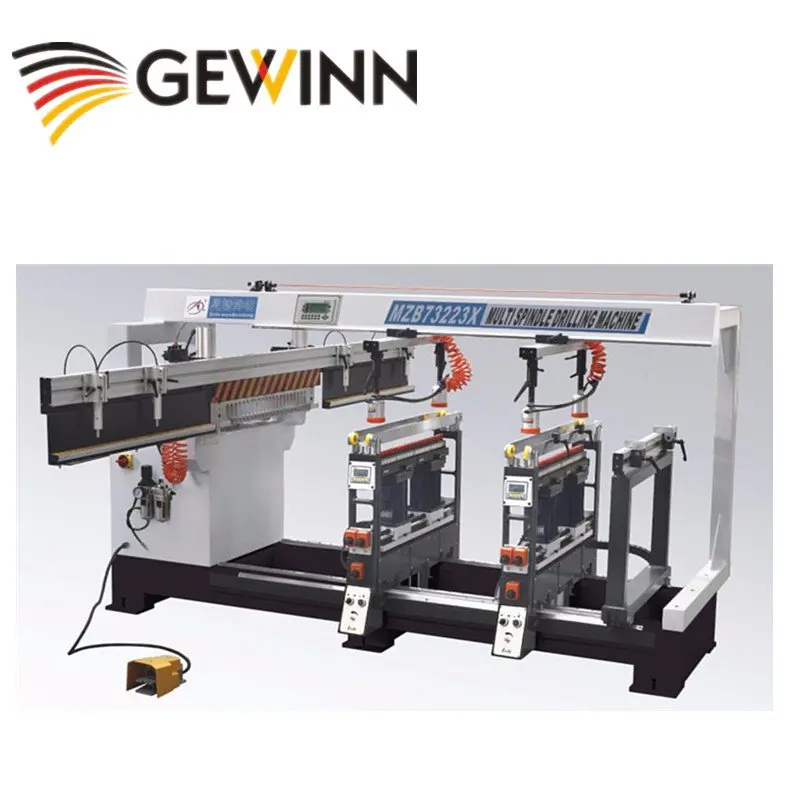
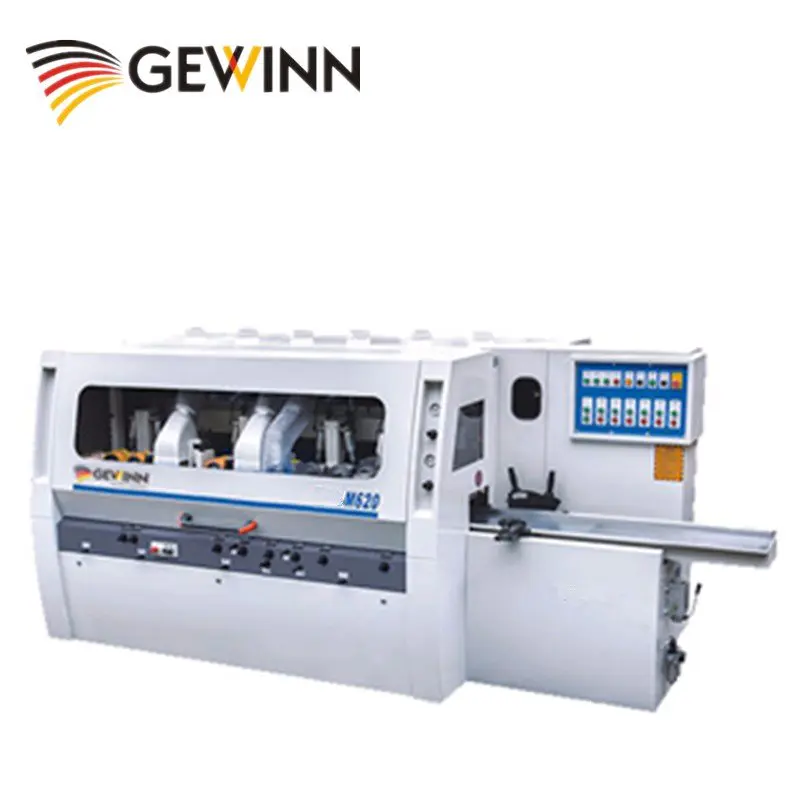
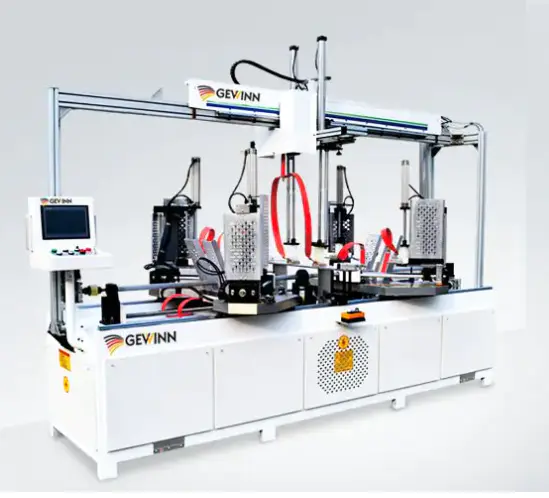
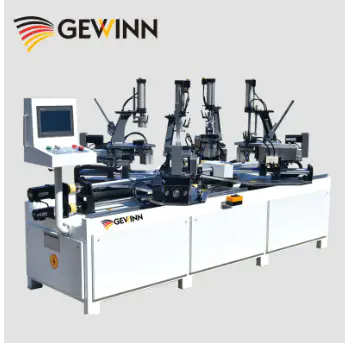
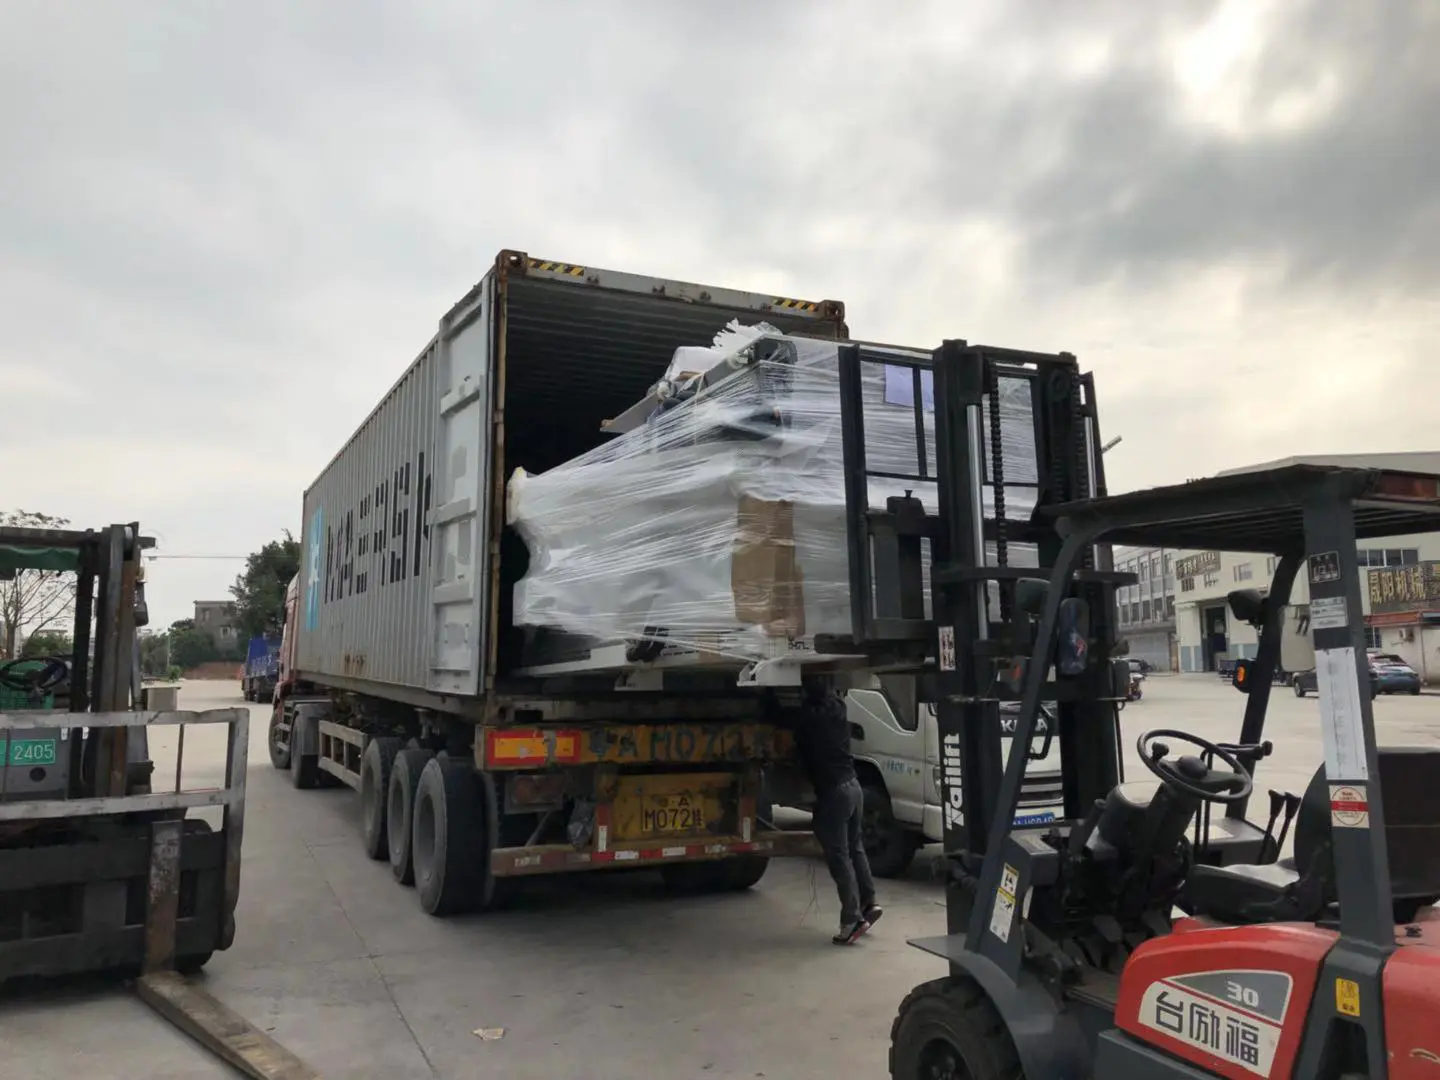
Shipment of CNC Machines
Products
P9C - Chair Made With CNC Router
by:Gewinn
2020-02-24
CNC furniture has been around for a few years but has not really taken off yet.
I believe this is because designers don\'t spend enough time designing this technology.
Most of the CNC furniture I found on the Web exposed typical carpentry or had a stiff feel.
I play with a friend of ShopBot (
Workbench 4\' x\' 2)
A set of chairs was also made: recliner, stool and dining chair.
I would like to design a modern chair that looks retro, similar to a school chair, but it is more ergonomic and comfortable.
The CNC router has become affordable in the past few years, and there are a lot of diy cnc routers.
If there is a tech store near you, you may go there.
Material: Important: measure the thickness of plywood!
I bought white melamine plywood at 0. 75” thick (19. 05 mm)
But as you can see from the photo, it is 19.
81mm and pre-
Finished walnut 18. 95 mm thick.
This is very important because the design has locking parts and we need to adapt to thicker materials.
I designed the chair with rhino because I have been using it for 10 years.
I did some measurements from other chairs to understand the overall size, especially the height, angle and width.
You can edit the file as needed and make a custom version for yourself.
My biggest design limitation is that at least one leg must be installed in 4\'x2\' plywood (
How big is my workbench on ShopBot).
If you have a larger Workbench you don\'t need to do this and there may be more efficient material use, I can make it fit for paper by rotating it.
You can download the Rhino file and STL to play and edit the design.
Once I have all the tablets, I arrange them on a 4\'x 2\' sheet.
Download the illustrator or Autocad file you need to create the toolpath.
As can be seen from 2nd pictures, the stool is suitable for one.
5 sheets of 4\' x 2\' plywood (
How big is my workbench on ShopBot)
Very fast cutting and assembly.
You can download the Rhino file and STL to play and edit the design.
Once I have all the tablets, I arrange them on a 4\'x 2\' sheet.
Download the illustrator or Autocad file you need to create the toolpath.
Attention to the direction of wood grain: this is an aesthetic warning.
The direction you give each piece is important once combined.
For example, it is good to have a seat or seat rest match in the orientation, because the wood grain will be continuous.
The seat is made up of 3 pieces, and if each piece has wood grain in different directions, it will not look elegant.
Files included: create a new file.
Now in the job settings: we will create a file with a material size of 4\'x2\' x 1/4 (
Or how thick your real material is).
Top is zero.
The import vector file, the vector will appear on the worksheet.
Sometimes your vector may be outside of the worksheet, so it needs to be scaled down.
Another thing you need to do is add an open vector under the section \"edit vector.
Control A will select all vectors and click the connect button.
Click the join button again.
If you need to correct or move some objects around the worksheet now, it\'s time to do so.
You may need to do this in order to optimize the material. Control + A (select all)
, Click the right tab: toolpath (
Lock it so you can open it in the next session).
POCKET toolpath: you will see some options under toolpath operation.
We will start with the pocket cutter path and it will clear the depth area we want.
You should start with your pocket because all your materials are ready --
For example, if you start with a contour cut because you don\'t have a label (
Or too thin)
You will have a loose part and your pocket will be made in the wrong place.
Select the vector we want to put in.
These are small closed vectors that look like dog bones, and they are inside the cutting piece.
Click the toolpath tab on the right side of the screen.
Under toolpath operation, select create pocket toolpath \".
\"Start depth: 0 \"(
From above the material)
Cut depth: Select the cut finish depth less than 3/4. I used 0.
551 \", but if you want to change it, you also need to change the size of the part that fits the inside.
Now you need to select the cutter bit to cut.
Under tools, click select and use end milling for 1/1/4, we will choose to follow the offset of the design profile. Select Climb.
Profile tool path: 3rd icon for profile cutting, fill table with option will be displayed.
The first set of values will determine the depth to be cut.
Since we Zero at the top of the surface, our starting depth will be zero.
You want to cut all the material and a little sacrifice plate, so add a little depth to your cut depth (C).
Now you need to select the cutter bit to cut.
Click select and use 1/4 end milling as we are cutting the part mark on the machine vector: Outside/right side.
Add the ramp to the toolpath, smooth, pick distance (4-
6 inch good working).
Save the toolpath: you will be prompted \"warning-
The tool will cut the material \", but you already know because you did it on purpose when you chose to cut the depth.
After you have successfully created the toolpath, you will see the preview.
Once you\'re happy with what you see, click close.
Make sure to select Pocket1 and Profile1 and click save toolpath, which will have extended SBP.
Note on creating a label: the label is part of the material and it will not be cut in order to maintain the position of the part.
I don\'t want to do a lot of post work because I have a lot of parts to cut
I decided not to do the labeling work.
If you have a workbench with a vacuum then this is great because you don\'t need the label anyway.
I ordered my plywood from MacBeath Hardwood and they delivered it to our store at Pier 9.
The full sheets are 8\' x 4\', so you need to cut them into 4\' x 2\' to make them fit for our shopping robot friends.
We don\'t have panel saws so I cut them with another person and a table saw.
Now you are ready to cut the pieces for your table.
Put your 4\' x 2\' plywood on the workbench of the Shopbot.
Get the sheets to the table with screws.
Open the Shopbot and computer.
Open the Shopbot manager.
Put the inch vertical mill on Collet and you can zero the machine to zero on the 3 axis.
Use the proxy switch to zero the x and y axes.
Now use the Z-plate to zero the Z-axis of the machine.
Z-plate zero Z-axis: Open the toolpath file and click start.
You will be prompted for a warning message to start the router/spindle.
Before clicking OK on the warning message, make sure you actually start the spindle.
Shopbot will now start cutting your material.
This is the simple and interesting part.
You sit next to the router and watch how the machine cuts all your parts.
Since I\'m using an inch vertical mill, it goes through 3 times before it actually releases each part.
It will start with the pocket and then the profile is cut.
Keep in mind that we didn\'t add tags, so if your work is really close, it might be a good thing to get your recently cut work out of the table.
I do this easily without downtime.
Once the work is done, the spindle will be turned off automatically, and you can remove the material from the workbench.
For a recliner, 2 Chairs of 4\'x2\' are required, so now go ahead and repeat the process of 2nd chairs.
As I mentioned earlier, it is a very good idea to measure the thickness of the plywood.
My size was not very good and I found my pocket too tight for my joint so I had to peel the melamine off to make it fit.
I mark it with a knife and peel it out like an apple.
Another adjustment I made was that I did not have a smooth edge in certain areas and polished it down with a track Sander.
We have a bunch of parts and it\'s a good idea to sort them out before we start assembling them.
We should do this: it\'s time to start the assembly.
I glue the seat first and transfer it to other places when it\'s dry.
Stick 2 brackets to the seat.
Be very careful because the length of the bracket is different.
The longest bracket should stick to the pocket closest to the edge (
Look at the first picture).
The clip is good and strong.
When you let it dry, move on to the next step.
Assemble the left leg with the left seat.
I fixed it in place with two clips and then did the same with the right leg.
Keep the clip 30-60 minutes.
The backrest consists of 3 parts.
We will start from the side and leave the middle part behind.
Glue the side part to the woodworking part (the long tab).
Now assemble the two backrest sides to the legs.
Once the seat is dry, you can pick up the clip and stick the seat to the leg.
Use the clip again to make a solid carpentry.
Now assemble the last piece, stick the pocket, and use the clip.
Let it dry overnight and you\'re done!
It\'s time to sit down, relax and enjoy your P9C chair!
If you like to make this chair, you should check the other two products of this family: the P9L recliner and the P9S stool.
Custom message
Related Products