Indonesia
 Deutsch
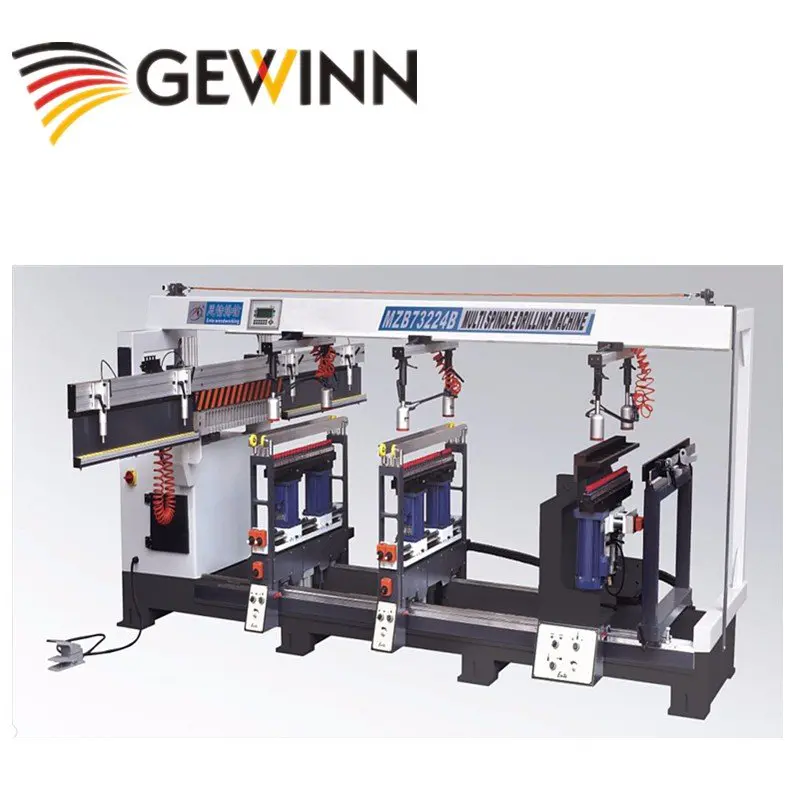
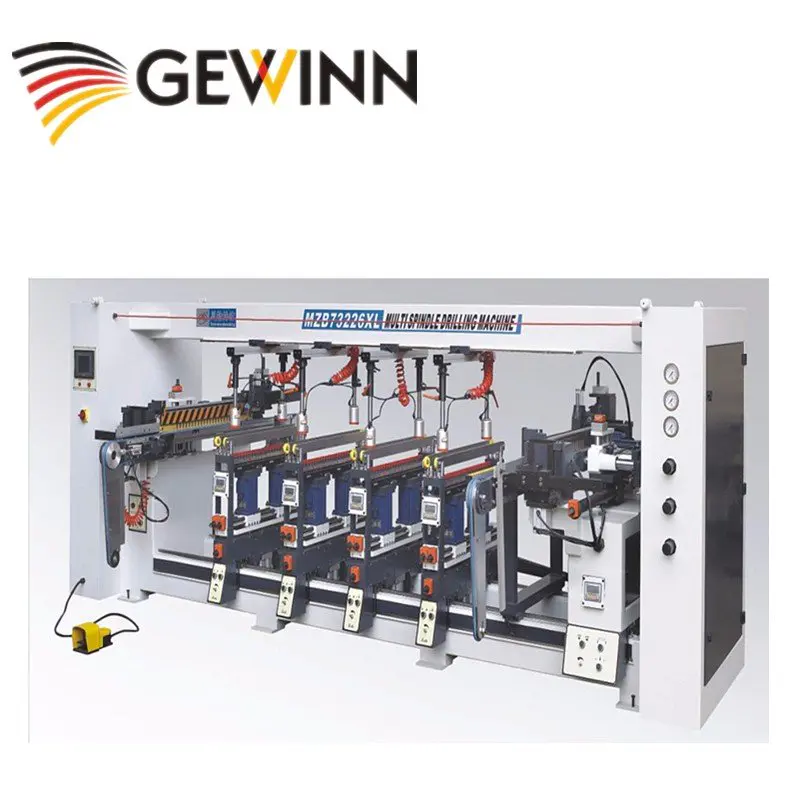
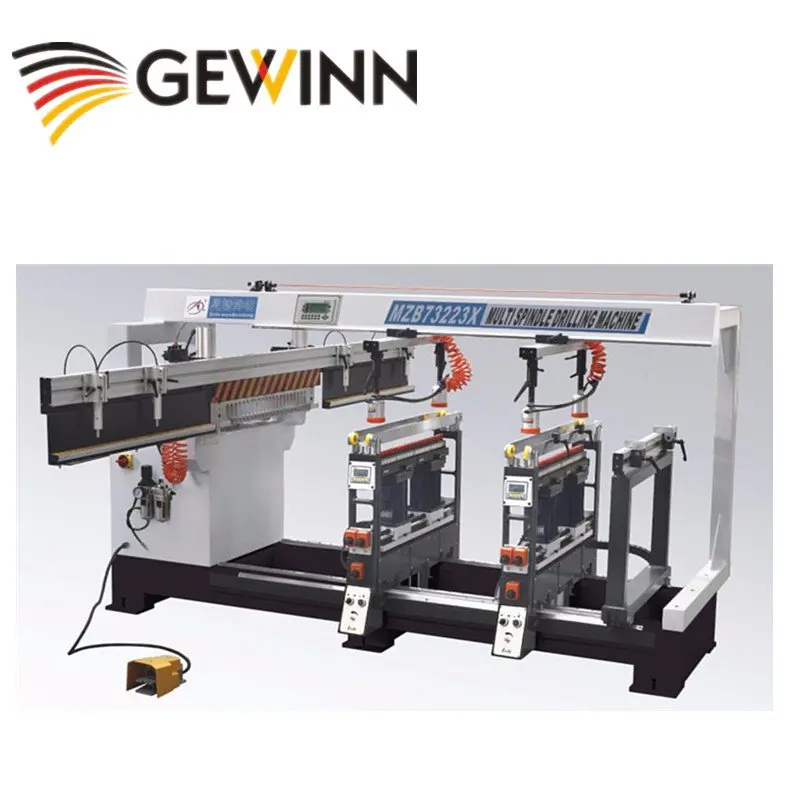
Shipment of CNC Machines
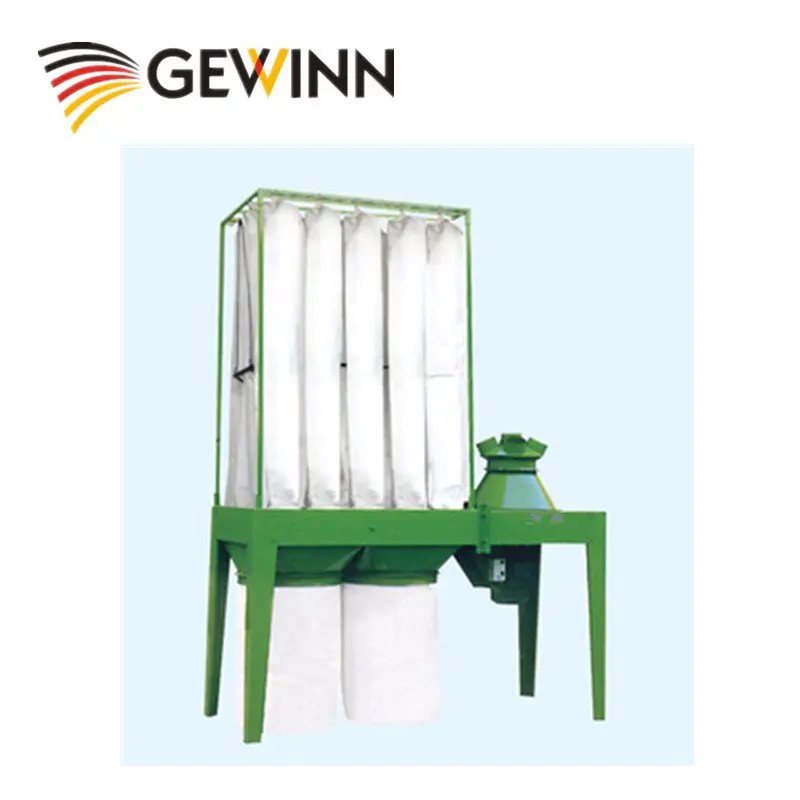
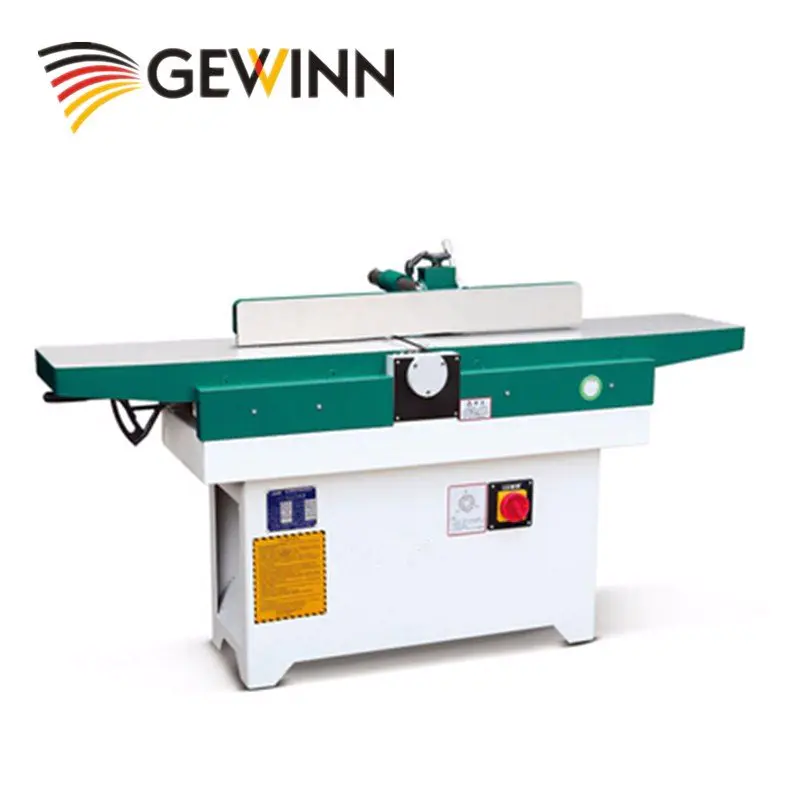
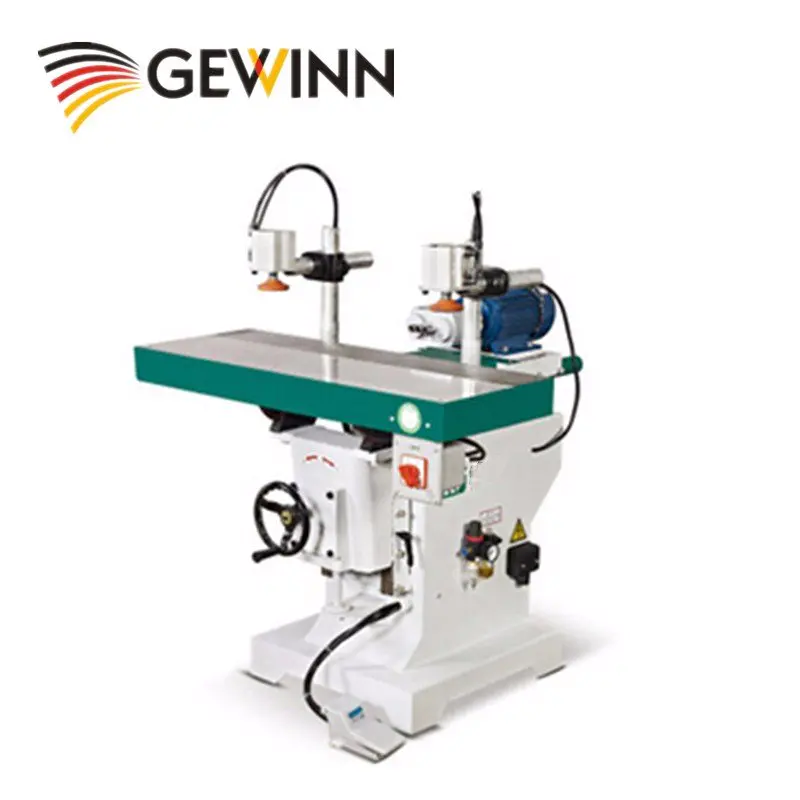
Products
thinking out of the box (home diy woodworking and remodelling)
by:Gewinn
2020-06-10
Taking advantage of the space wasted at home this article shows you can implement DIY remodeling projects by jumping out of the box to take advantage of the space hidden and wasted at home?
Here I give some simple ideas and projects, and give examples, including a front and back photo of a built-in Larder at the door, making the kitchen smaller to get bigger, and in the process of creating a cloakroom, use existing furniture and build a built-in Welsh dresser on it;
Transform the old fireplace into a display unit, transform the old bathroom, and redecorate
Use old furniture to create more space in a home DIY workshop or in a garden shed.
DIY project do you plan your DIY project? If so, how much energy did you put into it? 1.
Create storage space at the door and make a built-in
At Larder, based on the 1950 style larder, a space is built in to replace the previous brick arch.
Although the brick arch is very attractive in the building, it is in 4ft (1. 22m)
This is a waste of space when the storage space is large.
When removing the brick arch, there is plenty of room to keep a door of a standard width and squeeze a custom door next to it
Built cabinets;
As shown in the photos before and after the picture below.
This design is based on an old 1950 independent larder that belongs to my grandparents, installing the enamel bread plate of the original larder in the tensiondown worktop.
The body is made of 18mm exterior plywood and the shelves, doors and drawers are made of pine trees. Below the pull-
The spice drawer and vegetable drawer are below.
Spice drawers are used for anything other than spices and are perfect for storing all those little things that are easy to lose behind other drawers.
The vegetable drawers are made of pine trees, including their bases, all of which have five large 1 inch (25mm)vent holes.
There are several layers of varnish in the drawer for easy washing.
Each of the three drawers was designed to weigh 10 kg of potatoes.
I did evaluate the commercial vegetable racks to fit the space, but they are all poorly designed and none of them can withstand the weight of the potatoes, they will be heavy if we try, they will not say that they are not suitable for the existing space. 2.
Reduce the kitchen to make it bigger. Maximize the use of wall space. The above Larder is just part of a larger project designed to modernize the kitchen and install the right kitchen unit that is completely covered in a separate Squidoo.
This is a front and back photo showing that part of the old kitchen is blocked to create more storage space.
In the past, the back door was in the corner of the kitchen (
Behind the gypsum board in the photo)creating dead-
There is space in a huge area of the kitchen because the door is needed.
The end of the kitchen is blocked, recycling a lot of available space that can be used for cabinets and countertops.
The old back door of the space behind the plasterboard is brick, passing through a door to the space from the living room, creating a cloakroom (
See the photos before and after here).
The new back door is manufactured on the other side of the wall away from the corner to maximize space and use, as shown in the following figure. 3. Built-
On the Welsh dresser above the existing niche cabinet, storage space is added to the existing furniture, not just the bookshelf. Here is an example of a \"Welsh dresser\" built above existing cabinets using pine wood and recycled glass;
The glass was salvaged when the old front porch was remodeled. 4.
Display shelves in old fireplaces and take advantage of hidden spaces in hidden and wasted spaces. When we moved into our existing house, the original open coal fireplace had been transformed into a traditional rear boiler;
Previous owners have also faced fireplaces surrounded by modern stone products.
However, with the increasing cost of natural gas, we decided to modernize the central heating system by replacing the old soaking tank in the fume hood with a combined boiler (in the bedroom).
We do have the option to install a new gas fire, but since the gas fire uses as much gas as the entire central heating system, we decided it was an unnecessary luxury, instead, I chose two in the living room (
One at each end of the room);
Another benefit of the new combo system is that it also makes the tank in the attic redundant, so it took me hours to remove the tank that was once removed in the attic, which is in the attic.
Once our new combined boiler central heating is installed, the old gas fireplace and the rear boiler are removed, and the old fireplace is no longer just a feature;
We can\'t use it as coal or firewood (
Not a lot of extra fees)
Because the old fireplace was damaged when the boiler and gas pipe were returned to the house.
So I decided to tear off the more modern surround and brick sides to reveal the original opening;
It turns out to be very large, square and ideal for reuse as a building
In the display cabinet
After walking so far and seeing the potential, I filled and decorated the opening of the old fireplace and then added a flat glass shelf for installation.
So far, sit down for a cup of coffee and watch TV, and occasionally take a look at our new display stand, where the old fireplace used to be where I realized the blank wall above (
Old Fire chest)
I know it hides the wasted space.
So a weekend, with the help of a friend (
Retired builders)
We went through the old chimney and found the waste of space for us to build a recessed brick arch.
In this newly created space, I installed a wooden back and base, and then installed more flat glass racks.
In order to install the flat glass shelf in the old fireplace and the fire-fighting breast above, I installed several small screws on both sides to support the glass, and then allowed a few millimeters of a comfortable fitting to carefully measure the gap, and have the local glass workers cut the flat glass to the right size.
Create extra storage space in the excess fireplace, recycle dead space in the bedroom above the living room, chimney continues to exist, previous occupants have (as so many do)
Blocked the fireplace in the old bedroom with gypsum board;
Then a utility cabinet was built in front of it.
I want to use any dead. space (where possible)
I naturally removed the gypsum board and cleaned up the old fireplace.
Like the fireplace in the living room below, it is a square opening that, although much smaller, is ideally placed on a shelf.
So using some scrap wood in my workshop, I quickly put together a shelf comfortably installed in the old fireplace;
So, like now behind the utility cabinet, a cabinet is created inside the cabinet. 5.
Use the spare bedroom space of 2nd bathrooms to re-utilize the living space. Previous occupants have divided the end of the master bedroom to create a full bedroom
Suite bathroom but only a cheap plastic bath with a few tiles on top.
So when a friend throws away his old paint bag --
I took it off his hand and took his hand
With the help of two friends (it was heavy)
Drag the iron bathroom upstairs and install it into 2nd bathrooms, and then completely tile and decorate the bathroom;
A solid oak floor was laid and oak paneling was installed on the side of the bathtub.
The rest of the oak board is used to make a built-in vanity unit with a glass shelf on it. 6.
One of the biggest problems in a small home DIY workshop is keeping it neat and tidy.
Unless you\'re well organized, put everything back on the shelf, or put it on a shelf that used to be used as a DIY project, you\'ll soon get tools and material areas all over the workbench and workshop.
If you are like me, once you take some tools out to DIY, the workshop will soon get confused, and it may take a long time to put everything back in place when it is finished.
Over the years, I have found that the most effective thing for me is to have a \"place of everything\" in its position \";
My great-grandmother, a typical proud mother of the Edwardian era, often says a word to her children, trying to add neatness to them.
You can take the time and expense to buy a lot of wood, build your own shelves and cabinets for your workshop, or go out and buy shelves;
It would be great if you had time and money.
However, if you are working on a tight budget and you would rather spend your time on other activities then you can only knock at most
Climb up several racks and storage spaces using waste wood.
With the time, you can, like me, gradually replace your temporary shelf with old furniture as the old furniture appears;
As long as it fits and has the potential to work in your shed or DIY workshop.
When deciding that old furniture can fit into your DIY workshop, it is helpful to \"think out of the box\" to see its potential.
As functional old furniture, your tools and accessories should be easily stored;
If the tool is stuck behind the cabinet and it is difficult to get it out when needed, then it does not work.
Below are examples of different furniture re-used in my home DIY workshop for shelf and cabinet storage. Office Desk -
When I built the cabin, the first and most important project of the home DIY workshop was the workbench, for which I used a desktop on an old excess desk, 3 feet (90 cm)by 8 feet (2. 4 metres)
, The desktop is made of the same material used on the kitchen worksheet, so it is ideal for DIY work tables.
Electric surround-
It installed a full central heating system when we moved into our current home, so our old electric fire became redundant and was put into the attic.
After building the small house, I peeled the electric fire out, surrounded the wooden head, including the shelf for decoration, and used it in the shed workshop, used to place all the main screws and nails in small pots and containers. Glass Unit -
We call it a glass device, but only part of it is glass;
Most of them are wooden cabinets and shelves.
When we replaced the old glass cabinet with oak cabinets, I took the old cabinet to the shed and used it to store it.
Originally behind the workshop, I just knocked on some shelves with scrap wood, but the cabinets and shelves used by the glass unit were much better than before.
For easier access, I removed two doors from the bottom cabinet and removed the base to use the spacious space under the unit as an additional storage space.
Medicine Cabinet-
There was an old Edwardian medicine cabinet in our attic and we didn\'t use it, so I screwed it on the wall of the DIY workshop to store small pieces.
Kitchen countertop
To make room for the glass unit, I removed the original shelf with a gap on the left with an old hi-
On one side is the fi cabinet and on the other side is two solid scrap wood as legs leaving enough space below, so when neighbors throw away an old metal bathroom, I put it under the kitchen table, too. fi cabinet.
On the countertop, I fixed a handy pair with bolts and placed a grinder next to it.
Boxed storage unit
What has recently been added is the boxed storage units thrown away by some friends as part of the remodeled living room.
Boxed units consisting of four squares and two separate squares, I placed under the kitchen table top as four square units supported, replacing the old hi-
Fi cabinets and bathrooms are neat and tidy, and some racks are assembled for small metal drawers in the remaining space;
The remaining two square boxed units sit on the kitchen table. Old shelf unit
After completing the above modifications, I have an old rack unit that is no longer of any use, but the rack is very wide, so I added a few extra racks from the scrap head, and put it behind the kitchen counter, behind the lieutenant.
So as mentioned, when looking around for ideas, please do it out of the box and see for yourself how the old excess furniture enhances the storage space of the home DIY workshop, nothing was given to you other than a little time to restructure your cabin.
Custom message
Related Products