Indonesia
 Deutsch
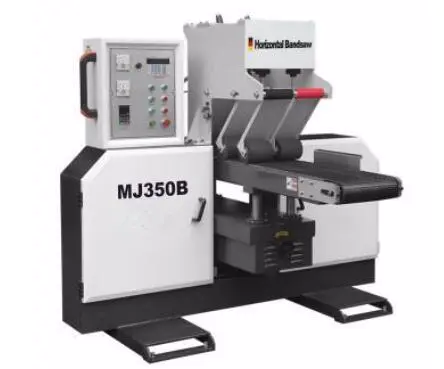
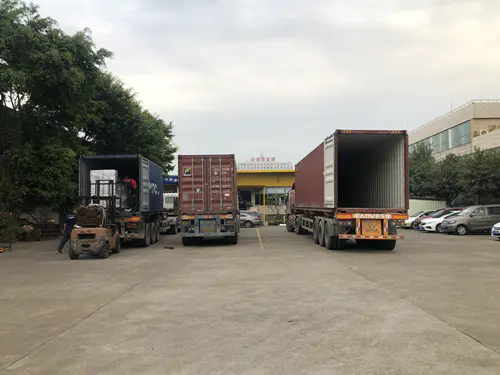
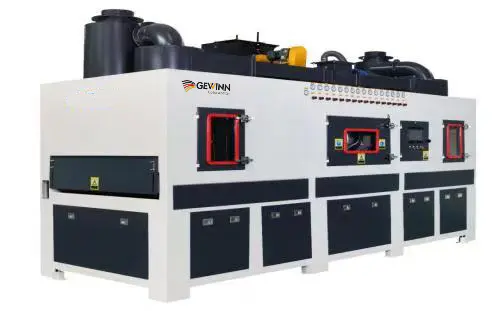
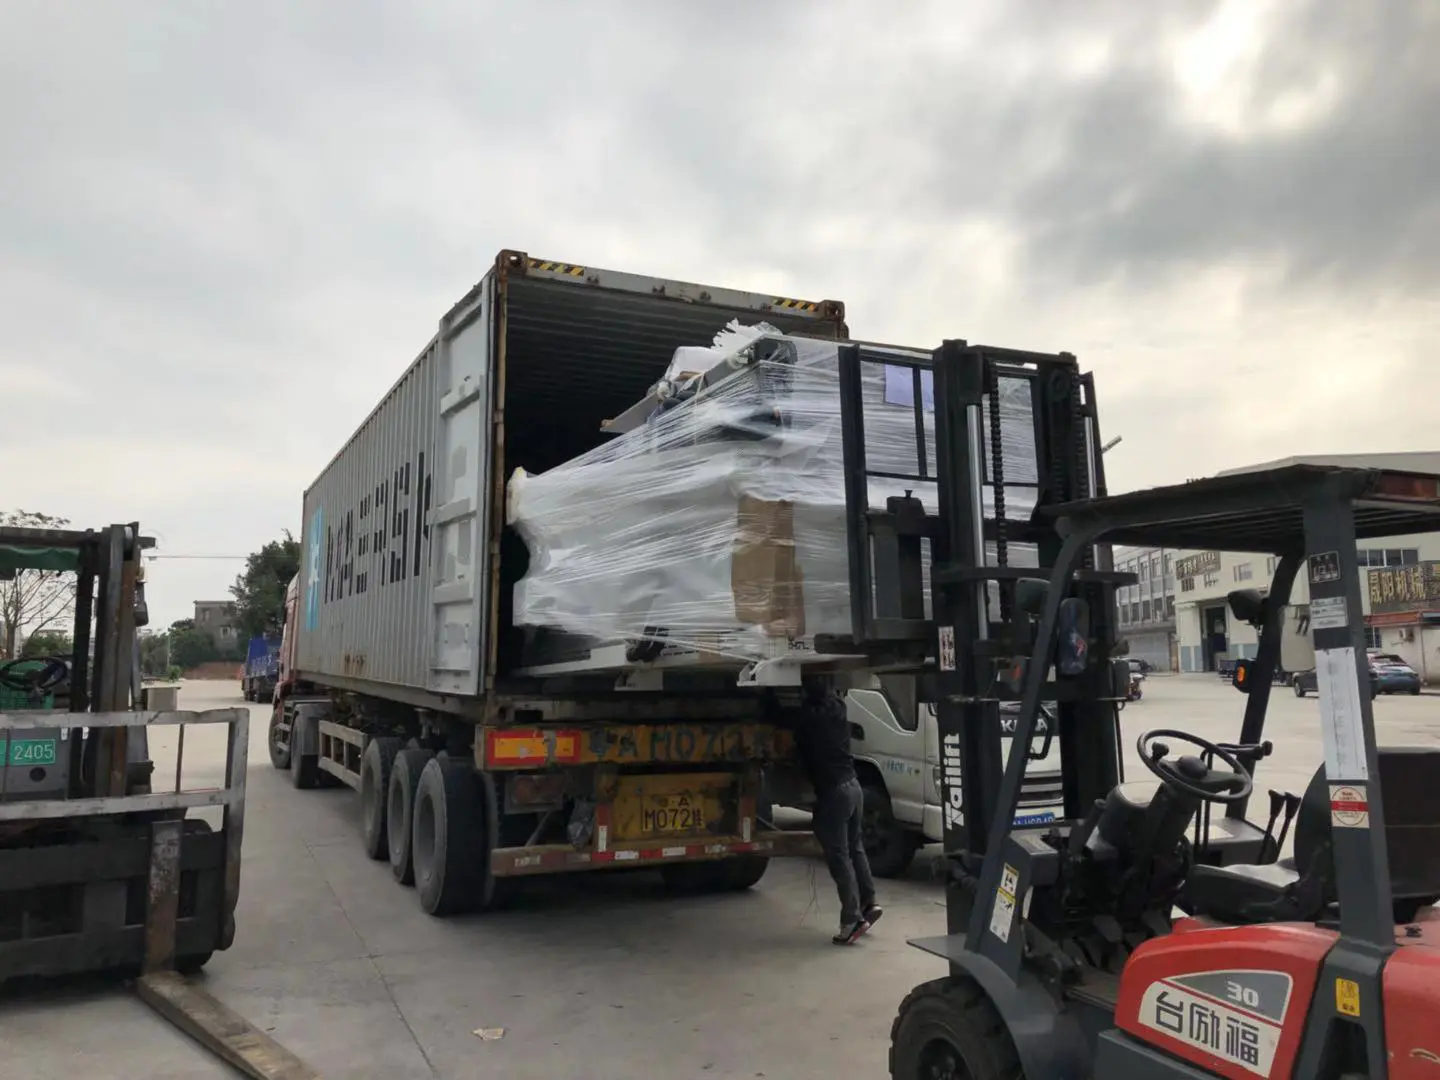
Shipment of CNC Machines
Products
tiny milling machine
by:Gewinn
2020-06-13
I am talking to a colleague from my school robotics team and we are starting to think that we should build a CNC factory ourselves to process custom parts.
While doing some research, I stumbled across a note called \"How to make a mini milling machine --manual or CNC! .
\"The design of this special machine is very good for small milling machines and I think I can narrow it down further --much farther.
This project is the result.
Now that the Epilog contest is in the voting phase, please remember to vote for me if you like this item!
It really doesn\'t need much material to build it.
Here are the tools and materials I use. Square dowels-
A lot, some different sizes help plywood.
Mine is sea redwood because I have some leftovers. Furniturenails-
Using anything thicker, the wood splits almost every time a wood drill is carried out with a large number of small brass tubling stainless steel axles --
These can be removed from RC cars3 long bolts and are twice as many as the nutsDremel tool with flexible shaft attachment. (
Other rotating tools will also work well, such as this CraftsmanSawBox cutter
In this mill design, in order to cut the brass tubingWood carving knife \"U\" screw with boltsPliersIn, the base of the mill contains the y axis.
To roughly match the length of the axle, I made the base 3. 25\" square.
In order to make the track of the platform slide, I drilled 4 holes through the opposite side, so that the axle is parallel to each other at the same height.
All the joints are nailed and glued.
The x-axis is included on the next platform.
Its construction is similar to that of the base, but the size is 1. 25\" by 2.
75 \"The rails were raised.
On the basis of this level, the two sockets are fixed on the base rail.
The socket is a short segment of the pin that has been drilled, with a brass tube inside.
Whatever you are milling, the platform is part of the mill.
I estimated the range of motion of the mill and cut a platform with mahogany plywood to the corresponding size.
At the bottom, I fixed the socket that slides on the second platform track.
The tower is part of the factory, which houses the motor part of the factory (
In this case, the Dremel flexible shaft)
And contains the Z axis.
This was built again with square stakes.
Unfortunately, I ran out of stainless steel shafts, so I used some thinner copper tubes.
It is very important that the tower reaches out to the right amount, otherwise the drill will not be able to cover all the platforms.
With this design, the drill bit must be a bit ahead of the center of the base.
The next step is to build a part of the tower that will actually move up and down and will accommodate dremel.
The bottom of this part consists of more plywood.
I added two pins in the middle and carved out their corners to fit the outline of the dremel attachment.
On the back of the work, I installed two more sockets, sliding over the railing of the tower.
I had to add a lot of threads to make the platform and bit really move.
At the bottom of each moving part, between the two tracks, I fixed the nut that a team leader bolt through.
If the bolt is fixed in place and turned, the platform moves forward or backward in the direction of the turning screw.
The end of each bolt is fixed with a locking nut and a piece of wood to prevent it from moving.
The NUT is perfectly perpendicular to the guide rail arrangement, or the nut does not parallel when the bolt goes through the nut, which will cause problems when the platform moves.
I installed the Dremel attachment to the mill using the \"U\" Bolt and some perforated aluminum.
In order not to block the track, the lower U-bolt is bent at a 90-degree angle, and the thread protrudes forward rather than backward as the first one.
I bend a piece of perforated aluminum to fit around Dremel and fix it in place when the bolt is fixed.
They work better when the factory is fully assembled, so I have to find a way to secure the tower firmly at the bottom of the factory.
I simply nailed it to the base in the first place, but it turned out to be quite fragile, so I built a larger base and triangular bracket for the tower.
To actually use the mill, whatever you are milling, you need to install it on the milling platform.
I finished this with very small wooden screws.
Obviously this doesn\'t work for any wood material, but the whole plant could break before that, so it\'s not really a problem.
When in use, it is helpful to hang dremel above the mill so that the weight of the flexible shaft does not tilt the mill.
I have an attic bed and it\'s easy to hang it on the table.
If you have practical use for this factory, be sure to let me know!
My current plan is to use it for engraving designs on chocolate bars, but nothing else comes to mind.
You can see this project here, as well as my other projects.
Custom message
Related Products